Showing posts with label cake. Show all posts

Monday, June 15, 2020

Matcha Coconut Mochi Cake [Revisited]


I've made this matcha coconut mochi cake for a a couple potlucks now. The full recipe makes a 9 x 13" pan, and it's great for cutting into squares and sharing!

Since I have some left over evaporated milk from making egg tarts and coconut milk from black glutinous rice pudding, the first thing that came to my mind are these matcha mochi cake squares. The recipe is easily halved and baked into a 8 x 8" square pan.


Find recipe here.

Only difference I made this time is lowered from 130g sugar to 80g (40g white + 40g coconut sugar). Next time, I will definitely double the matcha to 2 Tbsp (20g).


Tuesday, June 9, 2020

Hojicha Cake Roll with Hojicha Cream

Hojicha is roasted green tea with smoky notes similar to coffee. The taste is so complex and sophisticated. This cake roll has double the Hojicha and is perfect for any Hojicha lover!


Both the cake and cream have Hojicha powder added and are packed with the roasted tea flavor.

Hojicha Cake Roll with Hojicha Cream
recipe adapted from Sift and Simmer
makes one 9" x 13" cake

Cake:
3 egg whites
1/2 tsp cream of tartar
40 g granulated sugar
3 egg yolks
30 g granulated sugar
30 g oil
30 g milk
45 g cake flour
10 g hojicha powder

Hojicha Cream Filling:
1/2 C heavy whipping cream
1 Tbsp hojicha powder
1 Tbsp powdered sugar

Gently fold egg whites into yolk batter
Bake until top is dry and springy to touch

Make the Cake:
1. Line a 9" by 13" baking tray with parchment paper. Set aside.
2. Add egg yolks to a large bowl. Add insugar and whisk together.
3. Next, add in toil and milk and whisk until combined.
4. Add in  sifted cake flour and hojicha powder. Use a spatula to mix together. Set aside.
5. With a stand mixer, gradually whisk egg whites on low speed until foamy. Add in cream of tartar. Increase the speed gradually and add in sugar in small increments.
6. Beat until egg whites reach medium peaks.
7. Fold egg whites into yolk batter in third until homogeneous.
8. Pour into lined baking tray. Smooth out batter and tap tray to remove any trapped air bubbles.
9. Bake at 375F for 13-15 mins, until top is dry and springy to touch.
10. Remove from oven and carefully drop it from a height of about 1'.
11. Transfer cake over to a cooling rack, with the parchment-side down.
12. Loosely cover top with a new piece of parchment paper.

Make the Hojicha Cream:
Add whipping cream, hojicha powder and sugar to a large bowl. Whisk until the cream thickens.


To assemble:
1. While cake is still warm, carefully flip the cake onto the new parchment paper, with bottom side facing up. Peel the old parchment paper off the cake.
*Optional to trim edges. Trim one edge at an angle for a more rounded roll.
2. Using an offset spatula, spread the hojicha cream over the surface of the cake.
3. Carefully roll up cake from the short side and seal the ends of the parchment. Place into the fridge to chill for 1-2 hours.
4. Slice with a serrated knife and serve.


Taste: 5 stars out of 5
Hojicha rich!
Texture: 5 stars out of 5
Light and airy cake with creamy rich cream.

Monday, June 8, 2020

Hojicha Souffle Cheesecake


My first bake (and taste) with Hojicha!

The roasted flavor of Hojicha reminds me of coffee a bit. It lends a unique savory note that cuts down on sweetness and pairs well with dessert.

This cheesecake takes on different textures when it's fresh and still warm vs after it has been refrigerated and is cold. When warm, the texture is custard-y and melts in your mouth. When cold, the crumb is dense and creamy. The extra richness is probably due to my sub of heavy cream with milk which is not at all necessary. (I had heavy cream waiting to be used up.)


Hojicha Souffle Cheesecake
recipe adapted from Magic Ingredients
makes one 6" round pan


3 eggs
60g (1/4 cup) milk
160g cream cheese
35g unsalted butter
25g cake flour
10g hojicha powder
3g (1/2 tsp) white vinegar
40g (3 Tbsp) sugar

*subbed milk with heavy cream and used 138g cream cheese

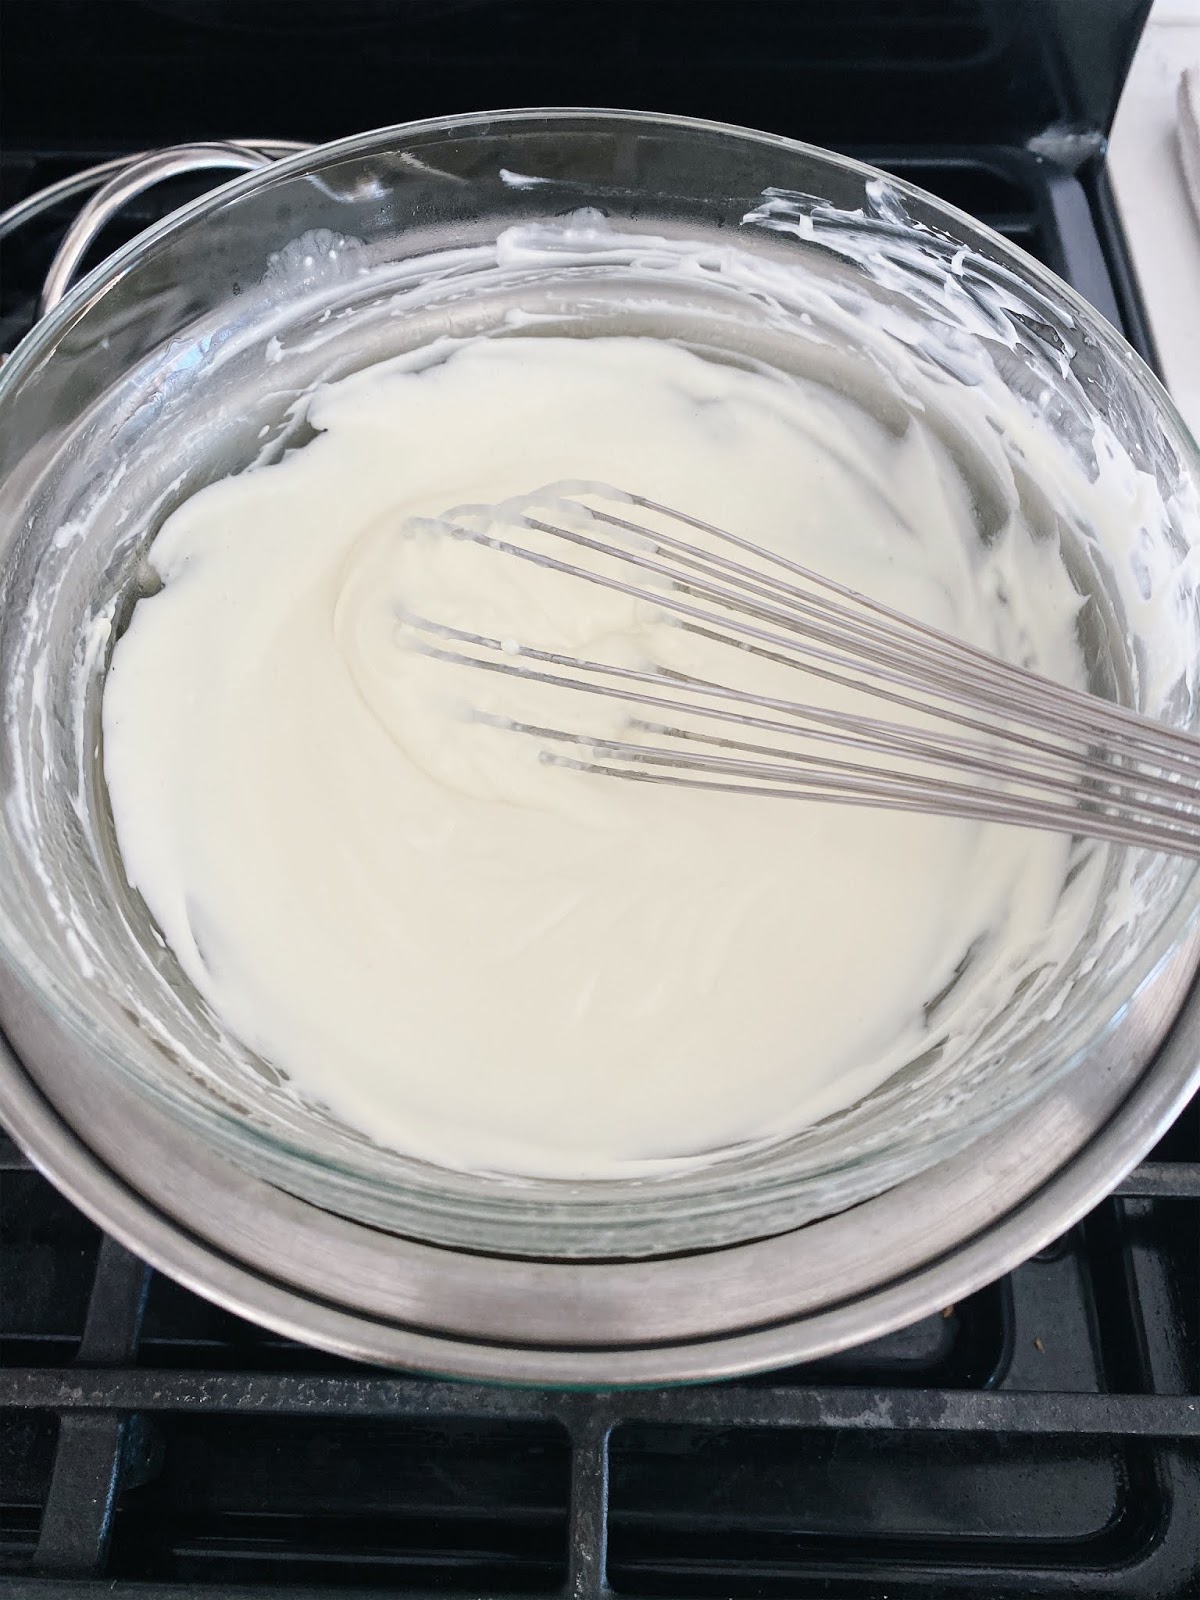
1. With double boiler, whisk together milk, cream cheese, and butter until smooth and lump free.
2. Turn off heat but keep bowl over hot water, whisk in yolks for about 1 min.
3. Sift flour and quickly whisk till combined. Remove from heat and set aside.
4. In a separate bowl, add together vinegar and white, beat till foamy and gradually add sugar. Beat until soft peaks form.
5. Fold white to yolk in third.
6. Pour into lined pan. Smooth top.
7. Bake in hot waterbath at 250F for 60 minutes (Broiler for last 3 mins).
8. Cool slightly, unmold and refrigerate.


Pictures below are taken when the cake was still warm and delicate. It crumbled when I inverted it onto the plate. Note to self, let cake cool completely!


Taste: 4.5 stars out of 5
Prominent roasted tea flavor
Texture: 3.5 stars out of 5
When fresh, custard- like. When cold, creamy and a little too rich and dense


Friday, May 29, 2020

Matcha Cake Roll with Blueberry Jam and Cream


I am a little obsessed with cake roll right now. I saw this matcha one coming before I even finished rolling the latest one. And I see future hojicha, chocolate, coffee, and earl gray variations coming very very soon! I also want to try filling the rolls with fruits, custard, and milk jelly. And how about patterns and that hurricane roll.


Matcha Cake Roll
55ml milk
55ml oil
60g cake flour
12g matcha
4 yolk
4 white
55g sugar

Follow link for steps on how to make the cake roll.


Blueberry Jam
227g (1/2lb) blueberries
1/4 cup honey
1 Tbsp lemon juice

In a pot over medium heat, mash and bring to a boil. Continue to stir until mixture thickens. Cool and ready to use!


The only difference I made from the last one is to lower the cake flour by 5g and added 12g of matcha. The cake turned out fluffy and light with just the right matcha-ness coming through. Again, no cracks when rolling but the skin did get stuck on the parchment. I need to experiment baking at a lower temp for a longer period to see if this improves. But hey, if the skin rips off completely, I am all for that "towel" look too.


I folded some homemade blueberry jam into the whipped cream and spoon some directly on to give the roll that molten blueberry center.

Love how the blueberry and matcha flavors paired together. A satisfying treat for these WFH's afternoons.


You already know..
Taste: 5 stars out of 5
Texture: 5 stars out of 5

Wednesday, May 20, 2020

Banana Ogura Cake

This cake baked up so beautifully with moist crumbs and a smooth golden brown exterior. It's like a pillow. So soft and fluffy! The banana flavor comes through, and the light sweetness makes this cake crave-able at any time of the day. I love enjoying this cake plain.


Banana Ogura Cake
makes one 8" square pan
recipe adapted from Jeannie Tay

5 yolk + 1 whole egg
60g corn oil
160 mashed banana
1/4 tsp salt
70g cake flour
5 whites
1/4 tsp cream of tartar
65g sugar


1. Whisk egg yolks, 1 whole egg and corn oil until frothy then add mashed banana and mix well.
2. Sift in flour and salt and mix again until well combined. Set aside.
3. Using an electric mixer, whisk egg white, cream of tartar and castor sugar until firm peaks formed.
4. Mix 1/3 of meringue with yolk batter with a hand whisk.
5. Add another 1/3 portion and fold gently with the whisk.
6. Pour in remaining meringue. Fold gently using a spatula until no more streaks of meringue can be seen.
7. Pour batter into prepared pan and tap pan lightly to remove air bubbles.
8. Bake in a water bath for 70 minutes at 320F.
9. Remove from oven. Drop pan at a 4" height onto a table top. Unmould as soon as you can.


Taste: 4.5 stars out of 5
Subtle banana flavor and sweetness just right.
Texture: 5 stars out of 5
So light and fluffy yet moist.
Appearance: 4.5 stars out of 5
Smooth golden brown top. Would try baking this in a smaller pan to get a taller cake!


Thursday, February 14, 2019

Matcha Madeleines


The last time I made madeleines was over 8 years ago! See post here. I can't believe I refrigerate the batter in the mold thinking it would work.. And why did I think the humps on madeleines are pointless when they are indications of their distinctive light/ fluffy texture.

Thursday, May 31, 2018

Memorial Day Weekend bakes recap


I baked two of my tried and trusted recipes - Blueberry Scones (step by step tutorial here) and Matcha Chiffon (recipe here) this past weekend. Both recipes are similar in that they are relatively simple and quick to put together.


Friday, May 25, 2018

Chocolate Strawberry Cream Cake


Throw back to my first successful chocolate sponge/chiffon cake in 2010 (original post here). My family and I loved it so much that I made this cake a couple more times following - as seen here and here. Somehow somewhere this recipe got a bit forgotten in the past 7 years or so.

For my dad's birthday this year, I decided to dig up this oldie to see if it's as good as remembered. I made some slight modifications and encountered a bit of a mishap.

Thursday, March 2, 2017

Matcha Chiffon Cake


As covered California puts it, I am experiencing a life changing event (for the better). An unexpected layoff is really a blessing in disguise for me. I am hopeful and motivated to move forward to new opportunities. And in the meantime, I can really do more of what I love - baking!

One thing that will never change is my love for chiffon cakes. Their fluffy light texture is so dreamy, and matcha is the perfect subtle flavor to pair this cake with. I like my chiffon cakes cut into slices and eaten plain. They are perfect on their own with a cuppa.


Friday, December 16, 2016

Earl Grey Chiffon Cake (Take 2!)


    This Earl Grey Chiffon came out super fluffy with the addition of baking powder! Going to see if I can reduce or remove it entirely to keep this cake pure in the next batches. I am absolutely thrilled with the texture that this recipe produced.


    Even moist crumbs
    Oh- so- SOFT & FLUFFY!

    The earl grey flavor was on point too. Distinct but not overwhelming. Wonder if I can achieve the same result with a Matcha version by just substituting the earl grey with matcha/green tea bag! Stay tuned.

    Give this a try if you love light and fluffy cakes!
    Check out Take 1 here.


    Earl Grey Chiffon
     recipe adapted from Just One Cookbook
     makes one 7" chiffon cake pan
    2 tsp. (3 g) Earl Grey loose tea leaves *2 tea bags
    1 Tbsp. (5 g) Earl Grey loose tea leaves *1 tea bag
    6 Tbsp. (90 ml) hot water
    3 large eggs
    85 g (3 oz) sugar, separated *lowered to 75g
    3 Tbsp. (40 ml) vegetable oil
    75 g (2.6 oz., or ⅔ cup) cake flour
    1 tsp. (3 g) baking powder


    1. Preheat oven to 340F (170C).

    2. Put 2 tsp. Earl Grey loose tea leaves (from about 2 tea bags) in a food processor and grind them to fine powder.
    3. Put 1 Tbsp. Earl Grey loose tea leaves in a fine sieve (or 1 tea bag) over a bowl and pour 6 Tbsp. (90 ml) of hot water to seep a strong tea. Set aside to cool.
    4. In a large bowl, whisk together 3 egg yolks and roughly ⅓ of 85 g (3 oz) sugar.
    5. Add 3 Tbsp. vegetable oil, 4 Tbsp. (60ml) tea, and whisk all together until combined.
    6. Add powdered Earl Grey tea and mix well.
    7. Sift 75 g (2.6 oz) cake flour and 1 tsp. baking powder into the egg mixture in 3 increments. Whisk until totally incorporated and make sure there are no lumps.
    8. Beat whites on low until foamy and bubbly. Slowly add remaining sugar while beating on increasing speed. Beat until stiff peaks form.
    9. Add one-third of meringue into yolk mixture and fold in lightly, then add remaining meringue and fold to incorporate completely.

    10. Pour batter into un- greased chiffon cake pan.
    11. Bake in preheated oven for 30-35 minutes, or until a toothpick inserted comes out clean.
    12. Remove from oven and cool upside down. Let cool completely.
    13. Run a thin sharp knife or thin offset spatula around both the outer and inner edge of the cake and tap the cake out onto a serving plate.


    Tip: When pouring batter into cake pan, pour in same location to prevent from forming bubbles. To further prevent air pockets, run a skewer through the batter and drop gently a few times on the counter.


    Taste: 5 stars out of 5
    Texture: 5 stars out of 5