Showing posts with label tea. Show all posts

Friday, June 12, 2020

Chocolate Cake Roll with Earl Grey Cream

Back with another cake roll per R and G's request.


They requested for chocolate and earl grey flavors and extra cream, so I added cocoa powder to the cake batter and infused the cream with earl grey tea. The resulting cake roll is dreamy. I love this classic earl grey chocolate flavor pairing, and the earl grey cream was absolutely divine on its own.

To make the earl grey cream, I infused about 200g cream (almost double the amount of what I used for the previous cake rolls) with 3 earl grey tea bags. I heated the cream up to a slow simmer and let the tea bags sit with the cream for about 45 minutes off heat.


Chocolate Cake Roll with Earl Grey Cream
recipe adapted from Neo Sook Bee on IG
makes one roll

Chocolate Cake:
30g oil
45g cake flour
14g cocoa powder
1g salt
50g water or milk
3 eggs
40g sugar
drops of lemon juice, optional to add to egg whites

1. Warm oil to 70C (158g).
2. Sift in flour, cocoa powder, and salt. Whisk to combined.
3. Add water and whisk.
4. Add yolks and whisk until combined and lump free.
5. In another bowl, beat egg whites. When bubbles are formed, slowly add in half of sugar. Keep beating until soft peaks form. Add rest of sugar and continue beating until medium peaks.
5. Fold egg white into egg yolk mixture 1/3 at a time until no more white streaks.
6. Pour batter in one spot onto lined pan. Smooth into even thickness and gently tap to rid of large bubbles.
7. Bake in preheated 325F oven for 20-23 minutes or until cake is spongy to touch.
8. Slide to rack to cool. Place a clean parchment paper over to prevent over drying.
9. Once is cool enough to touch, flip and peel off parchment paper.
10. Optional: trim off edges. On a short end, trim at a 45 degree angle. This will help with rolling/ sealing.
11. Spread a thin layer of cream. Roll and wrap to chill.
12. Chill for 1-2 hours before cutting.

Earl Grey Cream:
200g cream
3 earl grey tea bags

Over medium low heat, heat cream till simmer. Off heat. Add tea bags and steep for 30-45 minutes. Once cooled, chill in fridge before whipping.


Step by step photos:


Baked:


The skin peeled off evenly and revealed a nice "towel" roll. I would want extra cream too if it's this earl grey cream. 


Taste: 4 stars out of 5
5 stars for the earl grey cream, but the chocolate flavor can be more dark/intense
Texture: 5 stars out of 5
Pillow-y airy cake with a creamy rich filling.


Tuesday, June 9, 2020

Hojicha Cake Roll with Hojicha Cream

Hojicha is roasted green tea with smoky notes similar to coffee. The taste is so complex and sophisticated. This cake roll has double the Hojicha and is perfect for any Hojicha lover!


Both the cake and cream have Hojicha powder added and are packed with the roasted tea flavor.

Hojicha Cake Roll with Hojicha Cream
recipe adapted from Sift and Simmer
makes one 9" x 13" cake

Cake:
3 egg whites
1/2 tsp cream of tartar
40 g granulated sugar
3 egg yolks
30 g granulated sugar
30 g oil
30 g milk
45 g cake flour
10 g hojicha powder

Hojicha Cream Filling:
1/2 C heavy whipping cream
1 Tbsp hojicha powder
1 Tbsp powdered sugar

Gently fold egg whites into yolk batter
Bake until top is dry and springy to touch

Make the Cake:
1. Line a 9" by 13" baking tray with parchment paper. Set aside.
2. Add egg yolks to a large bowl. Add insugar and whisk together.
3. Next, add in toil and milk and whisk until combined.
4. Add in  sifted cake flour and hojicha powder. Use a spatula to mix together. Set aside.
5. With a stand mixer, gradually whisk egg whites on low speed until foamy. Add in cream of tartar. Increase the speed gradually and add in sugar in small increments.
6. Beat until egg whites reach medium peaks.
7. Fold egg whites into yolk batter in third until homogeneous.
8. Pour into lined baking tray. Smooth out batter and tap tray to remove any trapped air bubbles.
9. Bake at 375F for 13-15 mins, until top is dry and springy to touch.
10. Remove from oven and carefully drop it from a height of about 1'.
11. Transfer cake over to a cooling rack, with the parchment-side down.
12. Loosely cover top with a new piece of parchment paper.

Make the Hojicha Cream:
Add whipping cream, hojicha powder and sugar to a large bowl. Whisk until the cream thickens.


To assemble:
1. While cake is still warm, carefully flip the cake onto the new parchment paper, with bottom side facing up. Peel the old parchment paper off the cake.
*Optional to trim edges. Trim one edge at an angle for a more rounded roll.
2. Using an offset spatula, spread the hojicha cream over the surface of the cake.
3. Carefully roll up cake from the short side and seal the ends of the parchment. Place into the fridge to chill for 1-2 hours.
4. Slice with a serrated knife and serve.


Taste: 5 stars out of 5
Hojicha rich!
Texture: 5 stars out of 5
Light and airy cake with creamy rich cream.

Monday, June 8, 2020

Hojicha Souffle Cheesecake


My first bake (and taste) with Hojicha!

The roasted flavor of Hojicha reminds me of coffee a bit. It lends a unique savory note that cuts down on sweetness and pairs well with dessert.

This cheesecake takes on different textures when it's fresh and still warm vs after it has been refrigerated and is cold. When warm, the texture is custard-y and melts in your mouth. When cold, the crumb is dense and creamy. The extra richness is probably due to my sub of heavy cream with milk which is not at all necessary. (I had heavy cream waiting to be used up.)


Hojicha Souffle Cheesecake
recipe adapted from Magic Ingredients
makes one 6" round pan


3 eggs
60g (1/4 cup) milk
160g cream cheese
35g unsalted butter
25g cake flour
10g hojicha powder
3g (1/2 tsp) white vinegar
40g (3 Tbsp) sugar

*subbed milk with heavy cream and used 138g cream cheese

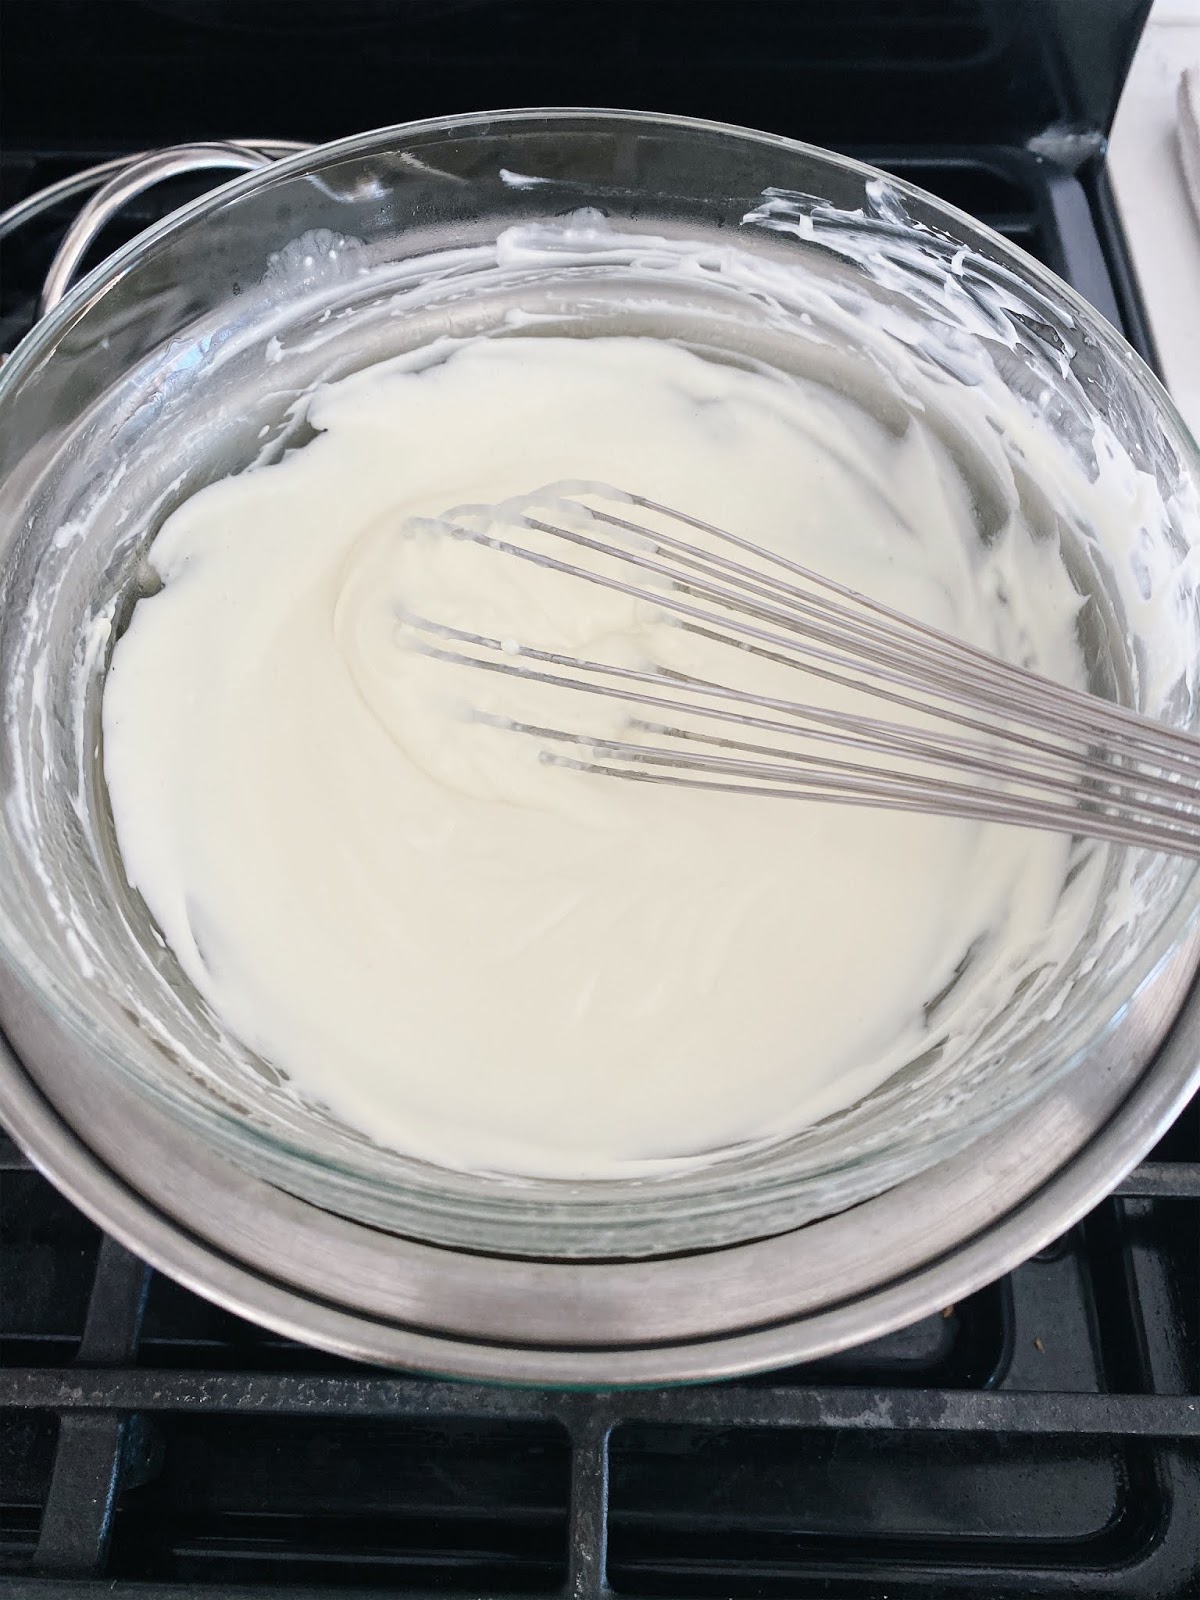
1. With double boiler, whisk together milk, cream cheese, and butter until smooth and lump free.
2. Turn off heat but keep bowl over hot water, whisk in yolks for about 1 min.
3. Sift flour and quickly whisk till combined. Remove from heat and set aside.
4. In a separate bowl, add together vinegar and white, beat till foamy and gradually add sugar. Beat until soft peaks form.
5. Fold white to yolk in third.
6. Pour into lined pan. Smooth top.
7. Bake in hot waterbath at 250F for 60 minutes (Broiler for last 3 mins).
8. Cool slightly, unmold and refrigerate.


Pictures below are taken when the cake was still warm and delicate. It crumbled when I inverted it onto the plate. Note to self, let cake cool completely!


Taste: 4.5 stars out of 5
Prominent roasted tea flavor
Texture: 3.5 stars out of 5
When fresh, custard- like. When cold, creamy and a little too rich and dense


Friday, December 16, 2016

Earl Grey Chiffon Cake (Take 2!)


    This Earl Grey Chiffon came out super fluffy with the addition of baking powder! Going to see if I can reduce or remove it entirely to keep this cake pure in the next batches. I am absolutely thrilled with the texture that this recipe produced.


    Even moist crumbs
    Oh- so- SOFT & FLUFFY!

    The earl grey flavor was on point too. Distinct but not overwhelming. Wonder if I can achieve the same result with a Matcha version by just substituting the earl grey with matcha/green tea bag! Stay tuned.

    Give this a try if you love light and fluffy cakes!
    Check out Take 1 here.


    Earl Grey Chiffon
     recipe adapted from Just One Cookbook
     makes one 7" chiffon cake pan
    2 tsp. (3 g) Earl Grey loose tea leaves *2 tea bags
    1 Tbsp. (5 g) Earl Grey loose tea leaves *1 tea bag
    6 Tbsp. (90 ml) hot water
    3 large eggs
    85 g (3 oz) sugar, separated *lowered to 75g
    3 Tbsp. (40 ml) vegetable oil
    75 g (2.6 oz., or ⅔ cup) cake flour
    1 tsp. (3 g) baking powder


    1. Preheat oven to 340F (170C).

    2. Put 2 tsp. Earl Grey loose tea leaves (from about 2 tea bags) in a food processor and grind them to fine powder.
    3. Put 1 Tbsp. Earl Grey loose tea leaves in a fine sieve (or 1 tea bag) over a bowl and pour 6 Tbsp. (90 ml) of hot water to seep a strong tea. Set aside to cool.
    4. In a large bowl, whisk together 3 egg yolks and roughly ⅓ of 85 g (3 oz) sugar.
    5. Add 3 Tbsp. vegetable oil, 4 Tbsp. (60ml) tea, and whisk all together until combined.
    6. Add powdered Earl Grey tea and mix well.
    7. Sift 75 g (2.6 oz) cake flour and 1 tsp. baking powder into the egg mixture in 3 increments. Whisk until totally incorporated and make sure there are no lumps.
    8. Beat whites on low until foamy and bubbly. Slowly add remaining sugar while beating on increasing speed. Beat until stiff peaks form.
    9. Add one-third of meringue into yolk mixture and fold in lightly, then add remaining meringue and fold to incorporate completely.

    10. Pour batter into un- greased chiffon cake pan.
    11. Bake in preheated oven for 30-35 minutes, or until a toothpick inserted comes out clean.
    12. Remove from oven and cool upside down. Let cool completely.
    13. Run a thin sharp knife or thin offset spatula around both the outer and inner edge of the cake and tap the cake out onto a serving plate.


    Tip: When pouring batter into cake pan, pour in same location to prevent from forming bubbles. To further prevent air pockets, run a skewer through the batter and drop gently a few times on the counter.


    Taste: 5 stars out of 5
    Texture: 5 stars out of 5


      Wednesday, June 1, 2016

      Chocolate Earl Grey London Fog Layer Cake


      A tall naked layered cake. Check!
      Swiss meringue buttercream. Check!
      Killing two birds with one stone, in this case, two to-do's with my dad's 61st birthday cake!


      I can gawk at naked cake for days on (especially with the flood on my instagram feed). Seriously, they are like a piece of edible art! When I saw the post on a London Fog Layer Cake, I knew it's my time! I love Earl Grey, and the idea of infusing Early Grey into a buttercream.. ohmygawd!!

      This seemingly taunting task was divided into two days over the Memorial Day long weekend. The first day was dedicated to cake and salted caramel sauce, and the second day was for buttercream and assembling. Making the cake was straight forward and a breeze with the help of Chio aka my stand mixer. As usual, I lowered the sugar as well as the salt. I also subbed 10oz of the AP flour with 3oz of cake and 7oz of white whole wheat flour mainly to use up what I had on hand.


      I had my first stumble with the salted caramel sauce. I didn't have corn syrup on hand so I subbed it with water. Everything seemed to be going smoothly until the cream was whisked in and the sugar quickly crystallized and clumped up! After a quick trouble shooting, I learned that corn syrup was suppose to help prevent this from happening, as well as having room temperature heavy cream. Tossing everything out was not an option for me since I hate wasting. I warmed the big clumpy mess on low and whisked until it came back smooth. Phew. The caramel sauce turned out well and was not a bit gritty.

      Buttercream - melting butter with earl grey
      Strain.
      Earl grey infused butter refrigerated till softened.
      Double boiler..
      Egg whites - initial stage.
      Egg whites - after an hour and still not at 160F.


      The swiss meringue buttercream was the most troublesome. Heating the egg whites to 160F was impossible! I must've stood by the double boiler whisking for a good hour, and the whites were still only registering 130F. It definitely did not seem right when my egg whites were cooking/crusting on the side of the bowl, and I am still whisking. When the whites turned thick and still not at 160F, I proceeded on to the stand mixer. Everything actually turned out fine at the end despite the nail biting and doubtful moments. The buttercream was lovely with its light and fluffy texture.


      Chocolate Earl Grey London Fog Layer Cake
      recipe adapted from Layered, by Tessa Huff
      (can be found on Hummingbird High)

      For the Classic Chocolate Cake:
      2 ½ cups all purpose flour
      1 cup unsweetened cocoa powder
      2 ½ teaspoons baking powder
      ¾ teaspoon baking soda
      1 teaspoon salt
      ½ cup plus 2 tablespoons grapeseed or canola oil
      2 cups granulated sugar
      2 large eggs
      1 large egg yolk
      2 teaspoons vanilla extract
      ½ teaspoon almond extract
      1 ½ cups whole milk
      1 cup hot strong-brewed coffee


      1. Preheat over to 350 degrees. Grease and flour three 8-inch cakes pans and set aside.
      2. Sift together the flour, cocoa powder, baking powder, baking soda, and salt and set aside.
      3. In the bowl of a stand mixer fitted with paddle attachment, beat together the oil and sugar on medium speed for 2 minutes. With the mixer on, add the eggs, egg yolks, vanilla, and almond extract. Stop the mixer and scrape down the bowl.
      4. Turn the mixer to low and add the flour mixture in three batches, alternating with the milk, beginning and ending with the flour mixture. Stop the mixer and scrape down the bowl. With the mixer on low, stream in the coffee. Mix on medium-low for no more than 30 seconds, or until combined.
      5. Evenly divide the batter among the prepared pans. Bake for 23 to 25 minutes, or until a toothpick inserted into the center of the cakes comes out clean. Let them cool on a wire rack fro 10 to 15 minutes before removing the cakes from their pans.

      For the Earl Grey Buttercream:

      2 cups unsalted butter, at room temperature
      ¼ cup loose Earl Grey tea
      ½ cup plus 2 tablespoons (150 ml) egg whites, from about 4 to 5 large eggs
      1 ¼ cups granulated sugar
      1 ½ teaspoons vanilla bean paste, or seeds from ½ vanilla bean


      1. Place 1 cup of the butter in a saucepan with the loose tea. Heat over medium heat until the butter melts, then reduce the heat to low and simmer for 5 minutes. Remove from the heat and let the tea steep for 5 minutes more. Strain the butter through a fine mesh sieve set over a bowl and refrigerate it until is reached the same consistency as softened butter, 20 to 30 minutes. Small bits of tea may remain in the butter.
      2. Place the egg whites and sugar in the bowl of a stand mixer. Whisk them together by hand to combine. Fill a medium saucepan with a few inches of water and place it over medium-high heat. Place the mixer bowl on top of the saucepan to create a double-boiler. The bottom of the bowl should not touch the water. Whisking intermittently, heat the egg mixture until it registers about 155-160 degrees on a candy thermometer or is hot to the touch. Carefully fit the mixer bowl onto the stand mixer.
      3. With the whisk attachment, beat the egg white mixture on high speed for 8 to 10 minutes, until it holds medium-stiff peaks. When done, the outside of the mixer bowl should return to room temperature and no residual heat should be escaping from the meringue out of the top of the bowl. Stop the mixer and swap out the whisk attachment for the paddle.
      4. With the mixer on low speed, add the vanilla, tea-infused butter, and 1 cup butter, a couple tablespoons at a time. Once incorporated, turn the mixer to medium-high and bet until the buttercream is silky smooth, about 3 to 5 minutes.

      For the Salted Caramel Sauce:
      ¾ cup granulated sugar
      2 tablespoons light corn syrup
      2 tablespoons water
      ½ cup heavy cream
      2 tablespoons unsalted butter, diced
      ¾ teaspoon sea salt, or to taste
      1 teaspoon vanilla extract

      1. Place the sugar, corn syrup, and water in a heavy-bottomed saucepan. Stir to combine.
      2. Heat over high heat, occasionally swirling the pan, until it turns a medium golden amber color (about 8 to 10 minutes). The sugar mixture will begin to rapidly boil before slowing down and darkening in color. Remove the saucepan from the heat once the correct color is reached and the bubbles start to subside (the darker the color, the deeper the caramel flavor).
      3. Slowly and carefully whisk in the cream.
      4. The mixture will foam up and sputter, so stand clear and keep stirring.
      5. Add the butter and continue to stir until melted. Add the salt and vanilla and stir to combine. Pour the caramel into a heat-safe container and let it cool until it reaches your desired consistency or refrigerate until use. It will thicken as it cools.

      For the Assembly:

      1. Place the bottom layer of cake on a cake plate or serving dish. Spread on about ½ to ¾ cup of the buttercream with an offset spatula. Top with the next layer of cake and repeat.
      2. Frost the cake with the remaining buttercream. Using an icing comb to crate the stripe finish (if desired) and refrigerate until set, about 15 to 20 minutes.
      3. Pour caramel sauce over the chilled cake, starting with about a ½ cup, letting it drip over the edges. Add more caramel as necessary.


      Note:
      - Instead of three 8-inch cakes, I baked my cake in two 6-inch cake pans and had 9 additional cupcakes. I halved each of the 6-inch to make 4 layers.
      - Sugar for cake was lowered to 10oz (282g), and salt was lowered from 1 tsp to 1/2 tsp.
      - 6-inch cakes baked for 35-40 minutes, and cupcakes baked for 23-25 minutes.
      - Ingredients for buttercream was halved except for tea to make a half batch; half batch was enough for a naked layered 6-inch.
      - 1/4 cup loose leaf Earl Grey tea weighs about 12g; 5 Tazo tea bags were used.
      - Sugar for buttercream was lowered to 100g.
      - Salted caramel sauce recipe was halved; 1 Tbsp light corn syrup subbed with 1 Tbsp water; skipped vanilla.
      - Warm caramel sauce before pouring over chilled cake; my attempt was not successful and I ended up just dripping them on the edge.


      I am pleased that my first naked cake attempt turned out both palatable and presentable. My nit picky parents appreciated the work I put in but preferred the lighter fluffier Asian sponge cakes. To me, the cake was a bit dense and had a coarse crumbly texture (possible due to the whole wheat flour I sub). The buttercream was tasty but could use a stronger tea flavor especially when paired with chocolate cake.  The layer could also be thinner to have a better ratio of cake to cream.


      Taste: 4 stars out of 5
      Sweetness was just right. Earl grey flavor was overpowered by the chocolate. Pairing the earl grey buttercream with a lighter flavor cake might be a better combo.
      Texture: 3 stars out of 5 for cake; 4.5 stars out of 5 for buttercream
      The cake was dense and had coarse crumbs. The buttercream was fantastic with its delicate earl grey flavor and fluffy texture. The buttercream firmed up and developed a thin crust after refrigeration.

      UPDATE: the smaller cupcake turned out really moist and soft; the layered cake was coarse and dry probably due to open refrigeration/ exposure to air.