Showing posts with label cheesecake. Show all posts

Monday, June 8, 2020

Hojicha Souffle Cheesecake


My first bake (and taste) with Hojicha!

The roasted flavor of Hojicha reminds me of coffee a bit. It lends a unique savory note that cuts down on sweetness and pairs well with dessert.

This cheesecake takes on different textures when it's fresh and still warm vs after it has been refrigerated and is cold. When warm, the texture is custard-y and melts in your mouth. When cold, the crumb is dense and creamy. The extra richness is probably due to my sub of heavy cream with milk which is not at all necessary. (I had heavy cream waiting to be used up.)


Hojicha Souffle Cheesecake
recipe adapted from Magic Ingredients
makes one 6" round pan


3 eggs
60g (1/4 cup) milk
160g cream cheese
35g unsalted butter
25g cake flour
10g hojicha powder
3g (1/2 tsp) white vinegar
40g (3 Tbsp) sugar

*subbed milk with heavy cream and used 138g cream cheese

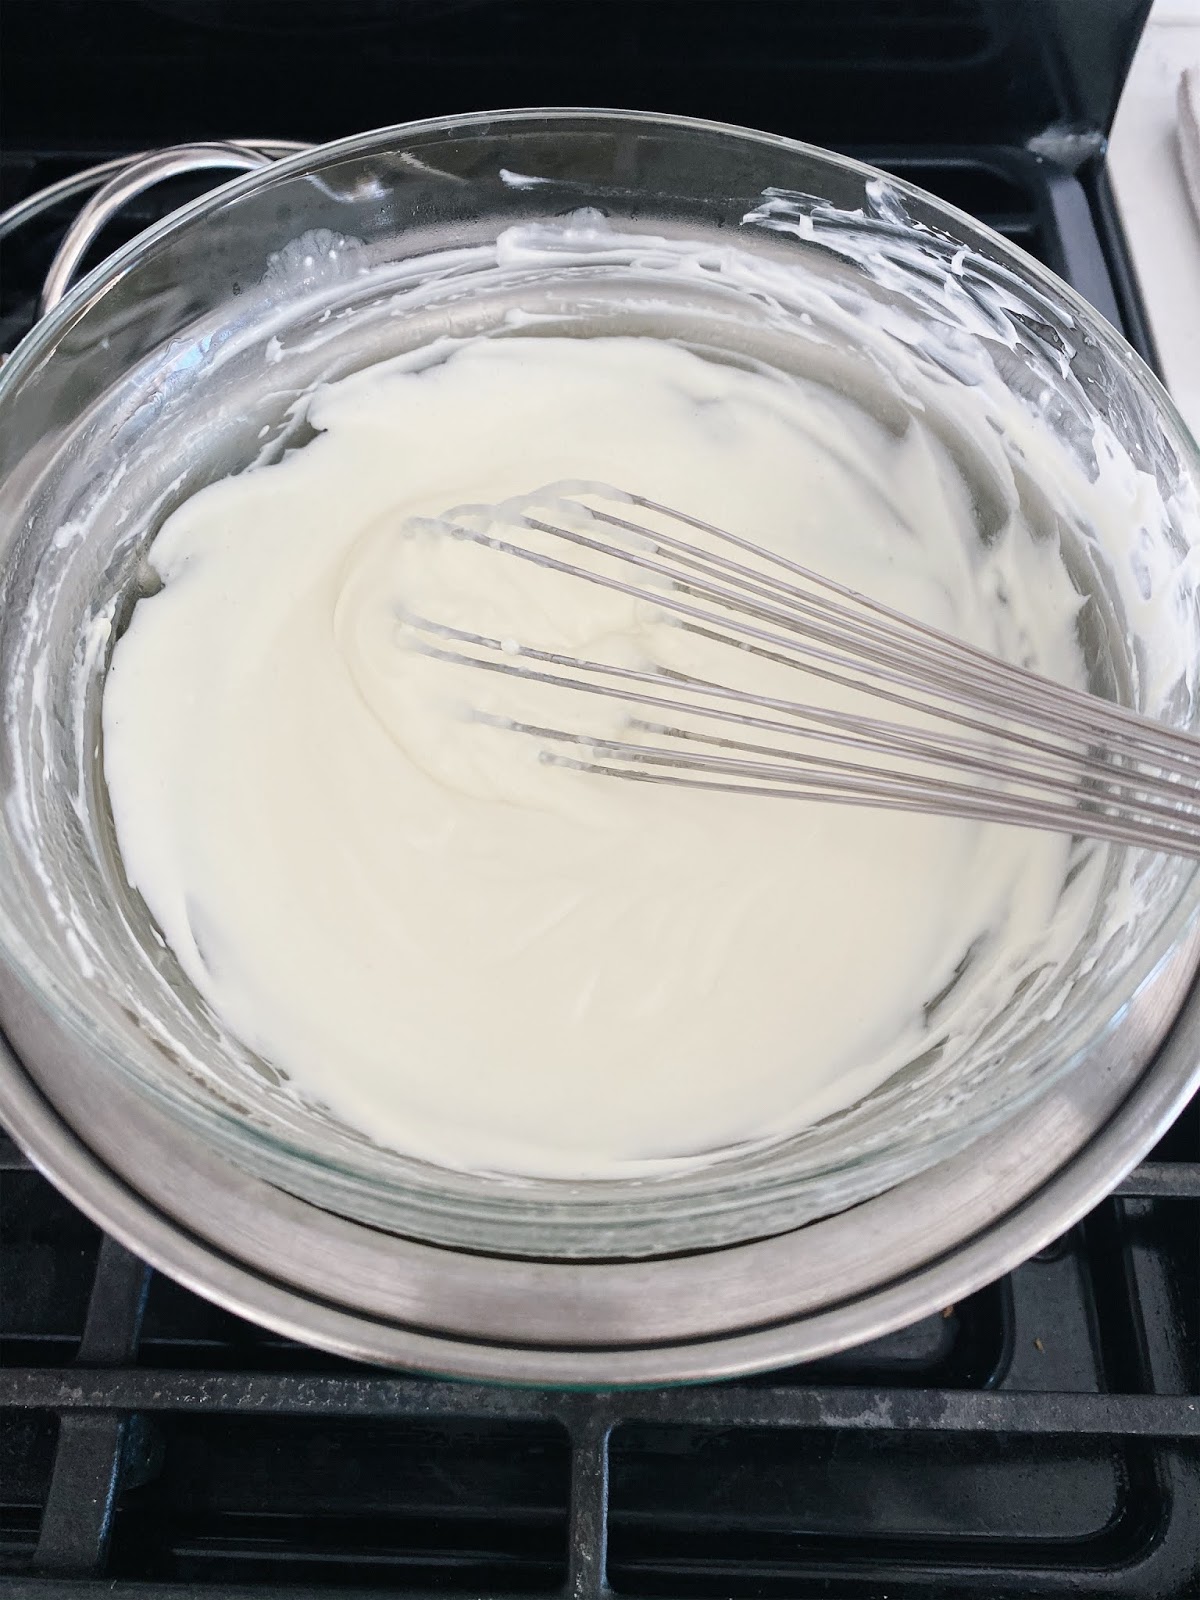
1. With double boiler, whisk together milk, cream cheese, and butter until smooth and lump free.
2. Turn off heat but keep bowl over hot water, whisk in yolks for about 1 min.
3. Sift flour and quickly whisk till combined. Remove from heat and set aside.
4. In a separate bowl, add together vinegar and white, beat till foamy and gradually add sugar. Beat until soft peaks form.
5. Fold white to yolk in third.
6. Pour into lined pan. Smooth top.
7. Bake in hot waterbath at 250F for 60 minutes (Broiler for last 3 mins).
8. Cool slightly, unmold and refrigerate.


Pictures below are taken when the cake was still warm and delicate. It crumbled when I inverted it onto the plate. Note to self, let cake cool completely!


Taste: 4.5 stars out of 5
Prominent roasted tea flavor
Texture: 3.5 stars out of 5
When fresh, custard- like. When cold, creamy and a little too rich and dense


Thursday, November 3, 2016

Matcha Souffle Cheesecake


Matcha Souffle Cheesecake
recipe adapted from The Wandering Eater
makes one 6" cake
1 oz (25 g) butter
4 oz (125 g) cream cheese
1.5 oz (50 mL) milk 
1 oz (30 g) cake flour
0.5 oz (10 g) cornstarch
2 tsp + 1/4 tsp matcha
1/8 teaspoon salt 
2.8 oz (50 g) granulated sugar *increase if you prefer it to be sweeter
3 large eggs, separated
1/8 tsp cream of tartar

Combine butter, cream cheese and milk over double boiler.
Add yolks, whisk, and sift in dry ingredients.
Whisk.
Beat whites to soft peak.
Gently fold whites into cheese mixture.


1. Preheat oven to 325°F. Prepare springform pan by lining the inside of pan with parchment paper on the bottom and up the sides and wrapping the outside with aluminum foil.
2. Place butter, cream cheese and milk in a bowl over double boiler. Stirring occasionally with a whisk so it melts and blends uniformly. When it's lump free, remove from heat, and set aside to cool.
3. Add egg yolks and whisk until blended.
4. Sift in cake flour, cornstarch, matcha powder, and salt. Fold until combined.
5. In a separate clean bowl, beat together egg whites and cream of tartar until frothy. Continue beating while slowly adding in sugar and increasing speed. Beat until soft peaks foam.
6. Fold one-third of the egg white mixture to the cream cheese mixture until combined. Add the remaining egg whites to the cream cheese mixture and gently fold until there are no streaks left.
7. Pour batter into prepared springform pan. Place pan into a deeper pan with hot water going up about 1 inch of springform. Bake in water bath for about 1 hour until set and golden brown and a cake tester comes out clean (a few crumbs is fine, as long as the tester is dry). 
8. Cool the cake for 15 minutes on a wire rack, then remove the sides of the pan. Carefully remove strips of parchment paper. Let cake cool to room temperature, then refrigerate at least 3 hours before serving, preferably overnight.


Cake so fluffy I die couldn't stop poking it. The original recipe is by weight which made it convenient to halve. I like how the smaller 6" came out tall and fluffy, and smaller cakes are just instantly cuter. Exercise has also been lacking in my life, so portion control is in need.

The sides of the pan were lined initially, but as you see in the photo above only parts of it remained. The batter sneakily seeped outside the paper, so I decided to remove it to not end up with paper baked into my cake. 

Cake turned out well and did not shrink at all. There's a small crack on top, but nothing a small dusting of matcha or powder sugar can't cover. It adds charm, so I left it as is. 

Taste: 4 stars out of 5
Lightly sweetened, mild cheese taste and subtle matcha flavor. Matcha can be stronger next time; a dusting on top could be nice.
Texture: 3.5 stars out of 5
More velvety and creamy than expected. Personally prefer a bit more spongy texture.


Tuesday, July 5, 2016

No-Bake Mango Yogurt Cheesecake


No bake desserts are perfect in this heat! This mango yogurt cheesecake does not require turning on your oven, and it's super quick and easy from start to finish.

The mango yogurt and whipped cream in the cream cheese mix lighten the cheesecake and make it an indulgent yet refreshing treat. I doubled the amount of mango cubes called for in the original recipe and loved how each bite has the perfect ratio of sweet mango cubes to cream. I used "1/3 less fat" Philadelphia cream cheese and Chobani mango yogurt to lessen the guilt and to intensify the mango-ness of it all, respectively. Butter was also lowered in the graham crust to have just enough moistness to hold the crumbs together and to not be too oily.

I am very pleased with how tasty and pretty this turned out (if you look past the gaps on the sides). Next time to give it a clean and even side, I will place the mango cubes toward the center and tap the pan after layering the top cream layer.


No-Bake Mango Yogurt Cheesecake
recipe adapted from Anncoo Journal (with step by step photos)
makes one 8" cake

Crust:

100g graham cracker crumbs
50g melted butter
1. Grease sides of a 8 inch removable cake pan and line the bottom.
2. Mix together graham cracker crumbs and melted butter.
3. Press onto bottom of lined cake pan.
4.Chill in the fridge for later use.

Cheese filling:
226g "1/3 less fat" cream cheese, room temperature
3 tbsp milk
2 tbsp cane  sugar or to taste
2 small tubs mango yogurt (meiji brand), about 280g
1/2 tbsp lemon juice
150g fresh topping cream/non-dairy whipping cream
2 fresh mango, cut to cubes
1 1/2 tbsp gelatin + 2 tbsp water
1. Put gelatin and water in a bowl and soak for a while. Then place it in a double boiler until gelatin dissolved. Keep warm.
2. Beat cream cheese and sugar at medium speed with 3 tablespoon of fresh milk until smooth.
3. Pour in dissolved gelatin and mix well. 
4. Add mango yogurt and lemon juice into cheese mixture, continue beating until combined.
5. Whisk fresh topping cream until soft peak and pour into the cheese mixture, fold well.
6. Pour half of the cheese mixture into the prepared cake pan; add in mango cubes, followed by the remaining cheese mixture. 
7.  Set aside in the refrigerator.

Mango Topping:
2 fresh mangoes, chopped , about 194g
1 tbsp sugar or to taste
1/2 tbsp lemon juice
1 tbsp gelatin + 1 tbsp water
1. Put gelatin and water in a bowl and soak for awhile. Then place it in a double boiler until gelatin dissolved. Keep warm.
2. Blend chopped mangoes, lemon juice and sugar till smooth. 
3. Pour in dissolved gelatin and mix well.
4. Pour over cheesecake, gently shake the cake pan to distribute the mango puree and smooth the top with a palette knife. 
5. Chill the cake for at least 4 hours or overnight before serving.

Beat together cream cheese, sugar, and milk.


Add gelatin, mango yogurt, and lemon juice and continue beating.

Fold whipped cream into cheese mixture.
Layer half of cheese mixture onto prepared crust.
Layer mango cubes on top.
Top with rest of cheese mixture.

Note: layer mango cubes closer to center to minimize gaps on the sides.


Taste: 5 stars out of 5
Great balance of rich cream cheese and tangy yogurt flavor. Love how the mildly sweetened cheese mixture pairs with the sweet mango cubes! Tip: use ripe mangoes!
Texture: 5 stars out of 5
Creamy, fluffy, and not overly rich!


Thursday, January 14, 2016

Japanese Cheesecake


Japanese cheesecake is such a temperamental cake.. The final results are almost never the same at least for me and unless of course you practice! I've gotten a little impatient rusty with getting my meringue to the perfect soft peaks, and the dreamy souffle texture of this cake depends on a well whipped stable meringue.

As you can't help but noticed, my cake is wrinkly. While still in the oven, my cake looked gorgeous- perfectly domed, golden brown, and no cracks. I snapped a couple pictures (see below) knowing it's too good to stay. As I left it to cool in the oven, it shrunk a little (which is normal) and became wrinkly (which is not ideal).


Japanese Cheesecake
recipe adapted from Rasa Malaysia
makes 1 8" round
140g/5 oz. fine granulated sugar*
6 egg whites
6 egg yolks
1/4 teaspoon cream of tartar
50g/2 oz. unsalted butter
250g/9 oz. cream cheese
100 ml/3 fluid oz. fresh milk
1 tablespoon lemon juice
60g/2 oz. cake flour /superfine flour
20g/1 oz. cornflour (cornstarch)
1/4 teaspoon salt
Using double boiler, melt together cream cheese, butter, and milk.
Be patient and melt until no lumps.
Separate six eggs. Making sure the bowl is oil free for the whites.
Whip to soft peaks.
Meringue and cheese mixture.
Fold meringue in 1/3 into cheese mixture.
Pour into prepared pan wrapped in foil.
1. Lightly grease and line bottom and sides of 8" round cake pan with grease-proof baking paper or parchment paper.** Wrap foil around pan to prevent water from seeping in. Set aside.
2. Melt cream cheese, butter and milk over a double boiler. Cool mixture. Fold in flour, cornflour, salt, egg yolks, lemon juice and mix well.***
3. Make meringue by beating egg whites with cream of tartar until foamy.Add in sugar and beat until soft peaks form.
4. Take 1/3 meringue and gently fold into cheese mixture, then fold in another 1/3 of meringue. After incorporated, pour the batter back to the remaining 1/3 meringue and fold.****
5. Pour mixture into pan.
6. Bake in a water bath for 1 hours 10 minutes or until set and golden brown at 325F.*****
7. Leave cake to cool down in oven with oven door slightly open for an hour.
8. Refrigerate for at least 4 hours or overnight. Serve cold.
*reduced sugar to 100g/3.5oz which possibly led to a weak meringue that deflated during folding/baking resulting in a wrinkly top. (Over beating is another possible reason)
**only lined the bottom of my pan and did not grease.
***started folding and switched to a whisk to get it lump free.
****folded meringue in third into cheese mixture. Did not pour into meringue for last fold.
*****preheated oven with a shallow pan of water, and baked cake on the lower shelf in the oven.

At 1 hour mark.. SO PERFECT.
Taking a peek.
Brain or cake?
I actually find the wrinkly top really intriguing to stare at. It went from looking like a baby bottom to an old person's face. EW NVM.. bad visual for a food ><''


I took my time making sure the cheese mixture was lump free. However, the meringue didn't get to quite where I wanted, it was loose. I am suspecting it may have come into contact with oil. 

The resulting denser-than-usual texture was acceptable but not favorable. It's moist and leans toward the texture of an American styled cheesecake. Some latte or tea would be great for sipping while enjoying this cake.


Flavor-wise, it's not too sweet and there's a mild cheese flavor. 


Making it a goal in 2016 to perfect this Japanese Cheesecake with consistent results!

Taste: 4 stars out of 5
Perfect sweetness, mild cheese flavors, and no eggy taste
Texture: 3 stars out of 5
A bit dense due to deflated meringue, denser toward the bottom.