Showing posts with label cupcakes. Show all posts

Tuesday, April 24, 2012

Lime Cupcakes and Donuts


Lime Cupcakes and Donuts
recipe adapted and translated from ucanmake.com
-makes 24 mini cupcakes and 8 mini donuts

300g cake flour
15g baking powder

75g sugar
80g melted butter
100g cream
zest from 2 limes
100ml lime juice (I used about 7 limes)
1 egg

1. Sift together cake flour and baking powder. Mix.
2. Whisk together sugar, melted butter, cream, lime zest, lime juice, and egg.
3. Combine (1) and (2). Beat on medium speed for 2 minutes.
4. Fill prepared butter& floured pans 60-70% full.
5. Bake in preheated oven of 160C/320F for 40-45 minutes.


These cupcakes/donuts smell AMAZING and taste DIVINE!

First bite: lime-y sourness.. 
Second bite: sweetness kicks in and counterbalances the sour

The flavor is quite complexing-ly good(:
It's definitely not a one- tone sweetness or one- tone sourness!
And omg, the crust..

a picture of the donut version from my cellphone
I baked them a little longer and got a super nice CRISPPPP crust! And!! The crispiness lasted even overnight! (: Not lining the pans gave these babies more and more and more and more crisp! The whole side and bottom were super nice and crunchy. And as you see, the donut version had a even higher ratio of crispyness vs the moist fluffy center. I love both the cupcake and donut forms.

Taste: 5 stars out of 5 (sour and sweet, complex flavor)
Texture: 5 stars out of 5 (light fluffy center with crispy crust- perfect!)

I am usually not a fan of citrus baked goods.. but these are definitely changing my mind about them! Maybe the crispyness made up for the hint of citrus. Either way.. give it a try if you are a fan for crispy cupcakes!

This is ultimate recipe for crispy cupcakes.

Thursday, July 28, 2011

Whipped Cream Cupcakes

Long long long overdue.
I swear though.. I have been baking and spending a lot of time around food. (:


Whipped Cream Cupcakes
recipe adapted from Sea Salt with Food who originally adapted it from Rose’s Heavenly Cakes by Rose Levy Beranbaum
-makes 24 mini cupcakes + a mini tube cake & a mini loaf cake
(original recipe used a 10-cup fluted metal tube pan)

225 g (2 cups) cake flour
2 tsp baking powder
1/2 tsp salt or 3/4 tsp sea salt
348 g (1 and 1/2 cups) cold heavy cream
3 large eggs, at room temperature
1 tsp vanilla extract
201 g (1 cup) sugar

1. Preheat the oven to 375˚F/190˚C. Coat a 10-cup fluted metal tube pan or whatever pan you are using* with baking spray and flour. Shake off the excess flour.
2. In a medium bowl, whisk together the cake flour, baking powder, and sea salt.
3. Using a stand mixer fitted with the whisk batter, whip the cream, starting on low speed, gradually raising the speed to medium-high as it thickens, until stiff peaks form.
4. In another bowl, whisk the eggs and vanilla until just combined.
5. On medium-high speed, gradually beat the egg mixture into the whipped cream. The mixture will thicken into mayonnaise consistency. Gradually beat in the sugar. It should take about 30 seconds to incorporate it.
6. Then add half the flour mixture into the cream and, with a large spatula, stir and fold in the flour until most of it disappears. Add the rest of the flour and continue folding and mixing until all traces of flour have disappeared.
7. Scrape the batter into the prepared pan. Run a small metal spatula through the batter to prevent large air bubbles, avoiding the bottom of the pan. Smooth the surface evenly.
8. Bake the cake for about 30 to 35 minutes, or until a wooden toothpick inserted between the tube and the side comes out clean. Let the cake cool in the pan on a wire rack for 10 minutes. With a small metal spatula, loosen the top edges of the cake and invert the cake onto a wire rack that has been coated lightly with nonstick cooking spray. Cool completely. Lightly dust the cake with icing sugar, if desired.


I am happy to present to you... *drum roll* whipped cream cupcakes! These are delicious. Words cannot describe how much I liked these cakes. The ultimate humble looking cake that tastes oh-so wonderful! The sweetness is right on the mark and the texture is crusty on the outside and moist and crumbly soft on the inside. I highly recommend this recipe to those those who also love Sara Lee's Pound Cake. These remind me so much of them!

And personally, I much much much preferred them in mini cupcakes form over using the tube, loaf or fluted pans. I like how much crust the mini cupcakes have and ohmy.. they are the perfect bite size! You can eat one whole cupcake without making a ton of mess.

Taste: 5 stars out of 5
Texture 5 stars out of 5

Friday, May 27, 2011

Green Tea Mochi Cakes


Green Tea Mochi Cakes
recipe adapted from My Buttery Fingers
-makes around 12 regular or 24 mini cupcakes

220g Thai glutinous rice flour (or mochiko)
5g matcha (green tea) powder
80g unsalted butter, melted
140g sugar
187g evaporated milk
2 eggs
1 teaspoon baking powder


1. Preheat the oven to 350F. Grease and flour a cupcake pan.
2. Sift the Thai glutinous rice flour, matcha and baking powder together.
3. In an electric mixer, whisk the eggs and sugar until light and fluffy. Fold in the melted butter, then the evaporated milk. Fold in the dry ingredients.
4. Split the batter between 12 cupcake holes, using around 1/4 cup per cake (or 1/8 cup for the 24 minis).
*Throw on some sesame seeds or almond slices for some extra goodness
5. Bake for 20 – 25 minutes or until a skewer inserted into the middle comes out clean. Cool the cake on a rack, then remove from the pan.


I love mochi.. so NO DOUBT I LOVE THESE MOCHI CAKES too. I was.. drooling just from hearing the name. If you are into that soft, moist and slightly chewy texture, you should not miss out on this! To those fellow mochi lovers, look what I found recently: MOCHI DONUTS! I am definitely making these once I invest on a donut pan :p They look so adorable! Almost like the felt play food.


Back to these green tea mochi cupcakes -> YUM YUM YUM. I highly suggest eating these warm from the oven, the crust is slightly crunchy and the inside is just oh-so-moist. Do not line the cupcake pan or else you won't get the best part- the crust!

They are also great after a day or two. The crunch is definitely not there but they are more chewy. It's a totally new experience. Haha( : They are great no matter what.


Taste: 5 stars out of 5
Texture: 5 stars out of 5

Sunday, January 9, 2011

Soufflé Cheesecake Cups Take 2&3

Winter break is officially over, and I am slowly adjusting back to the no-baking& only studying mode. :'( I already find myself falling behind on some readings after just week ONE! (But then, that's only because my textbooks have not arrived yet! :p)

Anywhos, let's get back to the bakED goods from winter break.


Soufflé Cheesecake Cups! Yes, the ones I have previously blogged. I don't usually find myself baking the same recipe this many times (3 times to be exact). This definitely tells you how good they are! Soft& light!!! They are so light that you can find yourself eating a couple in one sitting :P

If you look back at my first attempt on this recipe, you can see from the pictures that they shrunk as they cooled. On my recent tries, I noticed they didn't sink as much. I think over-baking them a little and letting them cool for 5 minutes in the oven with the door ajar will help achieve a more "fluffy" top.


recipe can be found here.

Next up is the world's SALTIEST almond jam slice..


The recipe for this little thing called for TWO WHOLE TEASPOON of salt! And the sad thing is I actually followed it. What was I thinking?!?! It was INEDIBLE.

"Try and fail. But don't fail to try"


At least they turned out pretty?

Monday, December 20, 2010

Vanilla Cupcakes with Espresso Buttercream


My first cupcake with professional-y looking buttercream! This was a really last minute whipped up. With the leftover espresso buttercream I made for the macarons, I decided to make some cupcakes! I really love the new 1M pipping tip I got. It's by far the biggest tip I own and it's just the perfect size to pipe buttercream or frosting (which I usually don't do)! Piping is so much fun when the consistency of what you are working with is "stable"!! (so far, my pipping experience has not been too great :p)

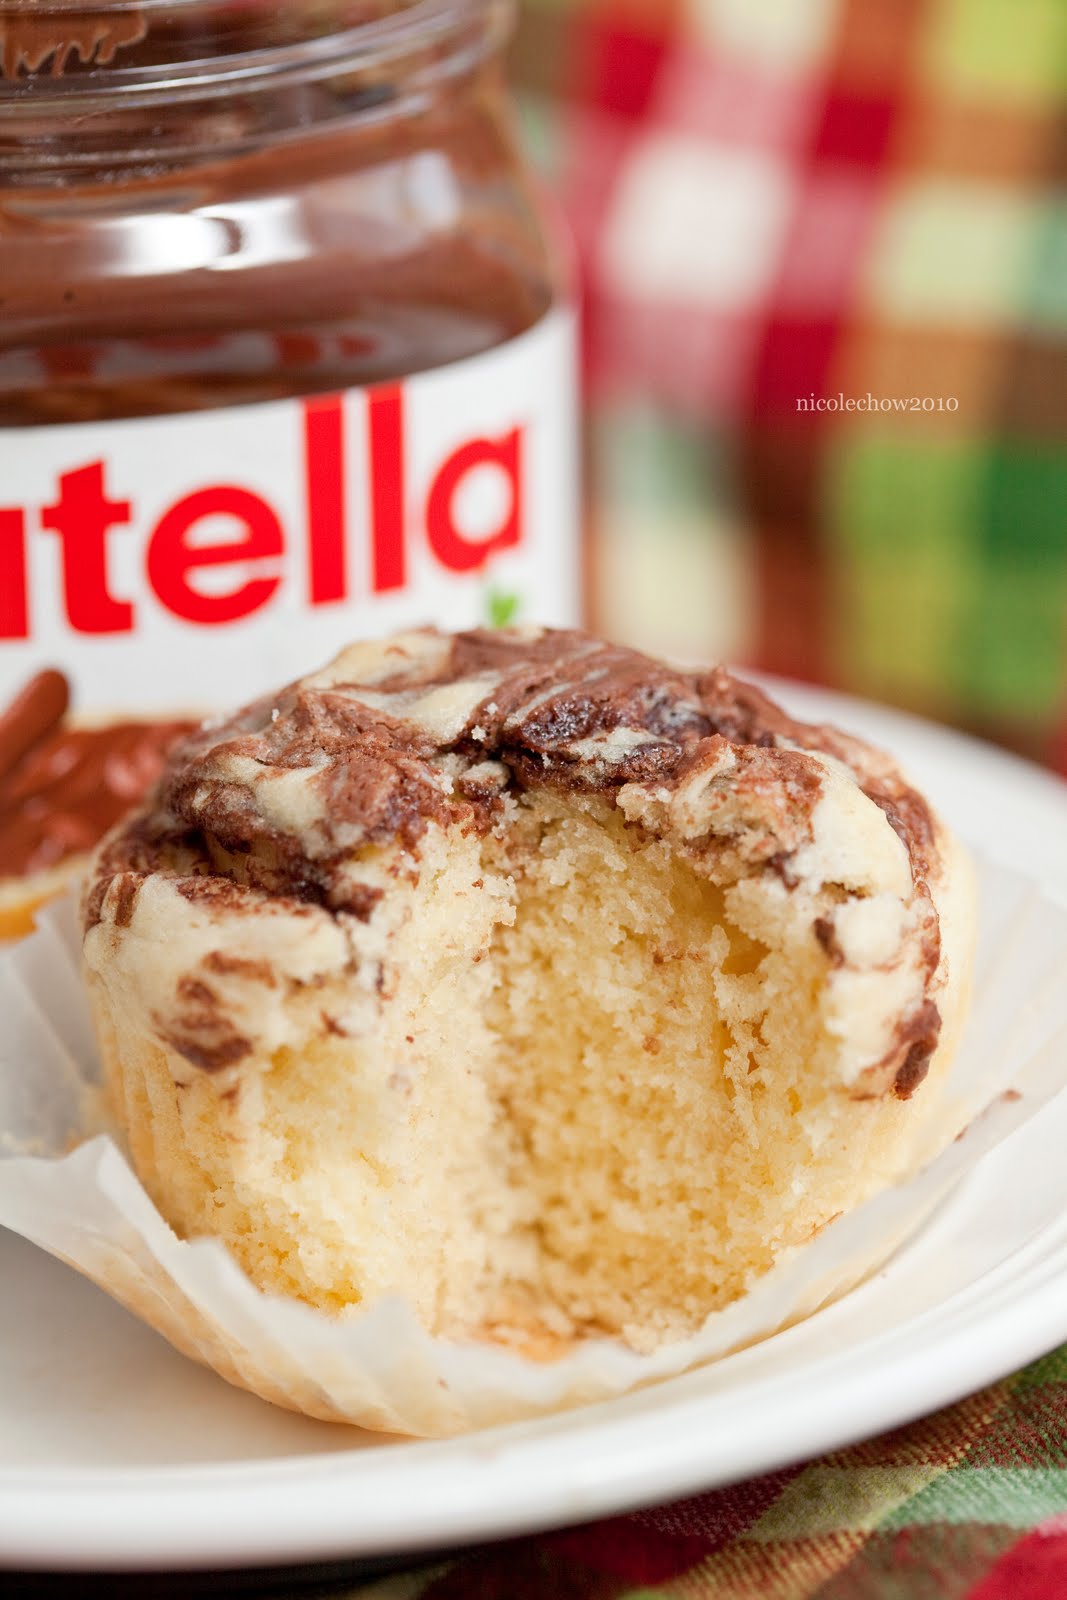
These cupcakes came out pretty moist& dense! I took note of what Kwanster have said about their deceiving wet-looking top when they are done and took them out right at the 17 minute mark. The cupcakes had a good height and a tender moist texture. Although not as light or airy as I usually prefer my cupcakes to be, they are still some yummy cupcakes!

Taste: 3.5 stars out of 5
Texture: 3 stars out of 5

Good tip: If you are giving these cupcakes to elderly or diabetic relatives/friends, throw in a couple walnut or almonds before putting them in the oven! Skip the buttercream(:


Billy’s Vanilla Vanilla Cupcakes
-makes 30 cupcakes

1 3/4 cups cake flour, not self-rising
1 1/4 cups unbleached all-purpose flour
2 cups sugar
1 tablespoon baking powder
3/4 teaspoon salt
1 cup (2 sticks) unsalted butter, cut into 1-inch cubes
4 large eggs
1 cup whole milk
1 teaspoon pure vanilla extract

Here's the halved recipe I followed to make my 12 cupcakes(:
(I converted most of the ingredients to grams for easy "halving")
112 grams cake flour
160 grams AP flour
201 grams sugar (I reduced mine to 150grams)
1/2 tbsp baking powder
1.6 grams salt
1 stick of butter
2 large eggs
1/2 cup whole milk
1/2 tsp vanilla extract

1. Preheat oven to 325F. Line cupcake pans with paper liners; set aside. In the bowl of an electric mixer fitted with the paddle attachment, combine flours, sugar, baking powder, and salt; mix on low speed until combined. Add butter, mixing until just coated with flour.

2. In a large glass measuring cup, whisk together eggs, milk, and vanilla. With mixer on medium speed, add wet ingredients in 3 parts, scraping down sides of bowl before each addition; beat until ingredients are incorporated but do not overbeat.

3. Divide batter evenly among liners, filling about two-thirds full. Bake, rotating pan halfway through, until a cake tester inserted in the center comes out clean, 17 to 20 minutes.

4. Transfer to a wire rack to cool completely. Repeat process with remaining batter. Once cupcakes have cooled, use a small offset spatula to frost tops of each cupcake. Decorate with sprinkles, if desired. Serve at room temperature.


I think I will try out the vanilla cupcake recipe from Joy Of Baking next time!

COMING UP NEXT: SOMETHING WITH CREAM CHEESE! CheeseCupcake?

Friday, October 1, 2010

Simple Nutella Cupcakes- Only 3 Ingredients Needed!

School has started for a week and 2 days. Zero baking during these times and lots of outings. Before I show you what I've been pigging at, let me recap to the day before I went back to school.


Nutella Cupcakes
- recipe from Kirbie's Cravings

1/2 cup Nutella spread
1 large egg
5 tablespoons all purpose flour

1. Preheat oven to 350 degrees. Line or grease mini cupcake/muffin pan.
2. Put the Nutella and egg in a medium bowl and whisk until smooth and well blended. Add the flour and whisk until blended.
3. Spoon the batter into the prepared muffin tins (about 3/4 full) and sprinkle with the chopped hazelnuts or sliced almonds!
4. Bake about 11 to 12 minutes. Set on a rack to cool completely. (Mine took around 20 minutes to achieve a brownie like texture)

___________________________________________


So yeah.. The day before I headed back to school, I did loads of baking. These simple nutella cupcakes were one of the bunch. I liked them a lot. Little work and big taste. Haha. They were very much like brownie. Although they gotten a bit hard after a day, they were divine right out of the oven. With a slight crunch on the outside and a gooey center, these were definitely worth using all the Nutella I have left.

Taste: 4.5 out of 5
Texture: 4.5 out of 5 when fresh from the oven

p.s. I discovered that my new roommate is also into felt sweets<3 Now we can have felt craft parties!!

Saturday, May 15, 2010

100% Rich and Buttery

I never really liked frosting on my cupcakes. The reason being that I always relate them with food coloring or I just think they are more for aesthetic principle. When I came across these self-frosting cupcakes, I was intrigued. No need for frosting and what.. NUTELLA?! Bookmarked! (hehe) The Nutella added a nice crunch to the cupcake and not to say, the absolutely amazing chocolatey hazelnutty taste! These cupcakes are swirly and beautiful without the frosting. Props to my bff for these awesome photos. You made my day♥


Self Frosting Nutella Cupcakes
recipe from Baking Bites
-makes 12
10 tbsp(140 grams) butter, softened (I used 8tbsp)
3/4 cup white sugar (I used 1/2 cup)
3 eggs
1/2 tsp vanilla
1 3/4 cups (200 grams) all purpose flour, sifted
1/4 tsp salt
2 tsp baking powder
Nutella, approx. 1/3 cup (~1 teaspoon for each cupcake)

Preheat oven to 325F.
Line 12 muffin tins with paper liners.
With mixer, cream together butter and sugar until light (~2 minutes).
Add in eggs one at a time.
Beat the mixture after each egg until fully incorporated.
Add vanilla.
Stir in flour, salt and baking powder until batter is uniform.
Fill each muffin liner 3/4 full with batter.
Top each cake with 1 tsp Nutella.
Swirl Nutella in with a toothpick (make sure to fold a bit of batter over the nutella).
Bake for 20 minutes.
Remove to a wire rack to cool completely.


If you'd like more Nutella on your cupcake, I suggest adding in little at a time. It was a bit difficult to swirl the batter over the Nutella.

Oh-la-la.. Enjoy these absolutely Nutella-y, rich and buttery cupcakes.