Showing posts with label tofu. Show all posts

Wednesday, August 17, 2016

Matcha Tofu Mousse Cake


No bake.
Serve chilled.
Asian flavor.
Healthy-ish (with tofu).


This was a tasty birthday cake for my brother's 28th last week. It was well received by the most harsh critics aka family. The sweetness was just right for my diabetic mom, and the matcha flavor was present without being bitter or unpleasant for my matcha- sensitive dad.

Exactly 7 years ago, on my brother's 21st, was when I attempted my first ever mousse cake. It was a matcha red bean mousse (see picture below)! How ambitious was I to make two flavors for my first cake? From what I remembered, the cake tasted decent. Maybe a bit sweet and a bit thin.. but hey! It was my first cake. It's amazing to see how far I've come in this baking journey.


Matcha Tofu Mousse Cake
recipe adapted from My Vitasoy
makes one 6" or 8" cake

Crust:
80g graham cracker crust
40g unsalted butter, melted
Matcha Mousse:
1/3 cup silken tofu, pureed
2 Tbsp matcha powder
1/4 cup soymilk
4 Tbsp (84g) honey
1 Tbsp gelatin
2 yolks
1 cup heavy whipping cream
1 Tbsp sugar
matcha powder, to dust on top

crust: added some grounded pecans to make up 80g
puree the tofu
super smooth tofu!
mix tofu with matcha powder

wait till matcha mixture is cooled before folding in cream!
pour into pan
and smooth top!
1. Mix together graham cracker crust and melted butter. Press down evenly on the bottom of a 6" lined pan. Set aside in freezer or optional- bake crust at 325F for 8-10 mins until lightly toasted and fragrant.
2. In small saucepan, bring soymilk and honey to a boil. Turn heat down to medium, add gelatin and stir till dissolved.
3. In bowl with yolks, whisk in a little bit of the hot liquid to temper. Pour egg mixture back into soymilk and cook on medium heat for 30 seconds to 1 minute or until mixture coats the back of a spoon. Strain into a bowl. Set aside to cool.
4. Whisk together pureed tofu and matcha powder until lump free.
5. Whisk tofu mixture with egg mixture until smooth. Set aside.
6. Whisk together heavy cream and sugar on high until stiff peaks.
7. Gently fold whipped cream into matcha mixture.
8. Pour mixture on top of prepared crust. Smooth top with spatula and lightly tap pan on table to make sure there are no gaps on the edges.
9. Refrigerate for 4-5 hours or until mousse sets.

after chilling
nice smooth edges!

This cake will become one of my staples for sure. Note to self: remember to wait till matcha mixture is cooled before folding in the cream. My cake could've been fluffier.. maybe. 

Taste: 5 stars out of 5
Prominent matcha flavor; sweetness just right. Maybe add a pinch of salt to crust next time!
Texture: 5 stars out of 5
Light, fluffy, and smooth mousse; crust could be more crisp.


Wednesday, April 13, 2016

Green Monster Banana Bread


Rawrr! Green Monster Banana Bread?!?! YES (but no)!

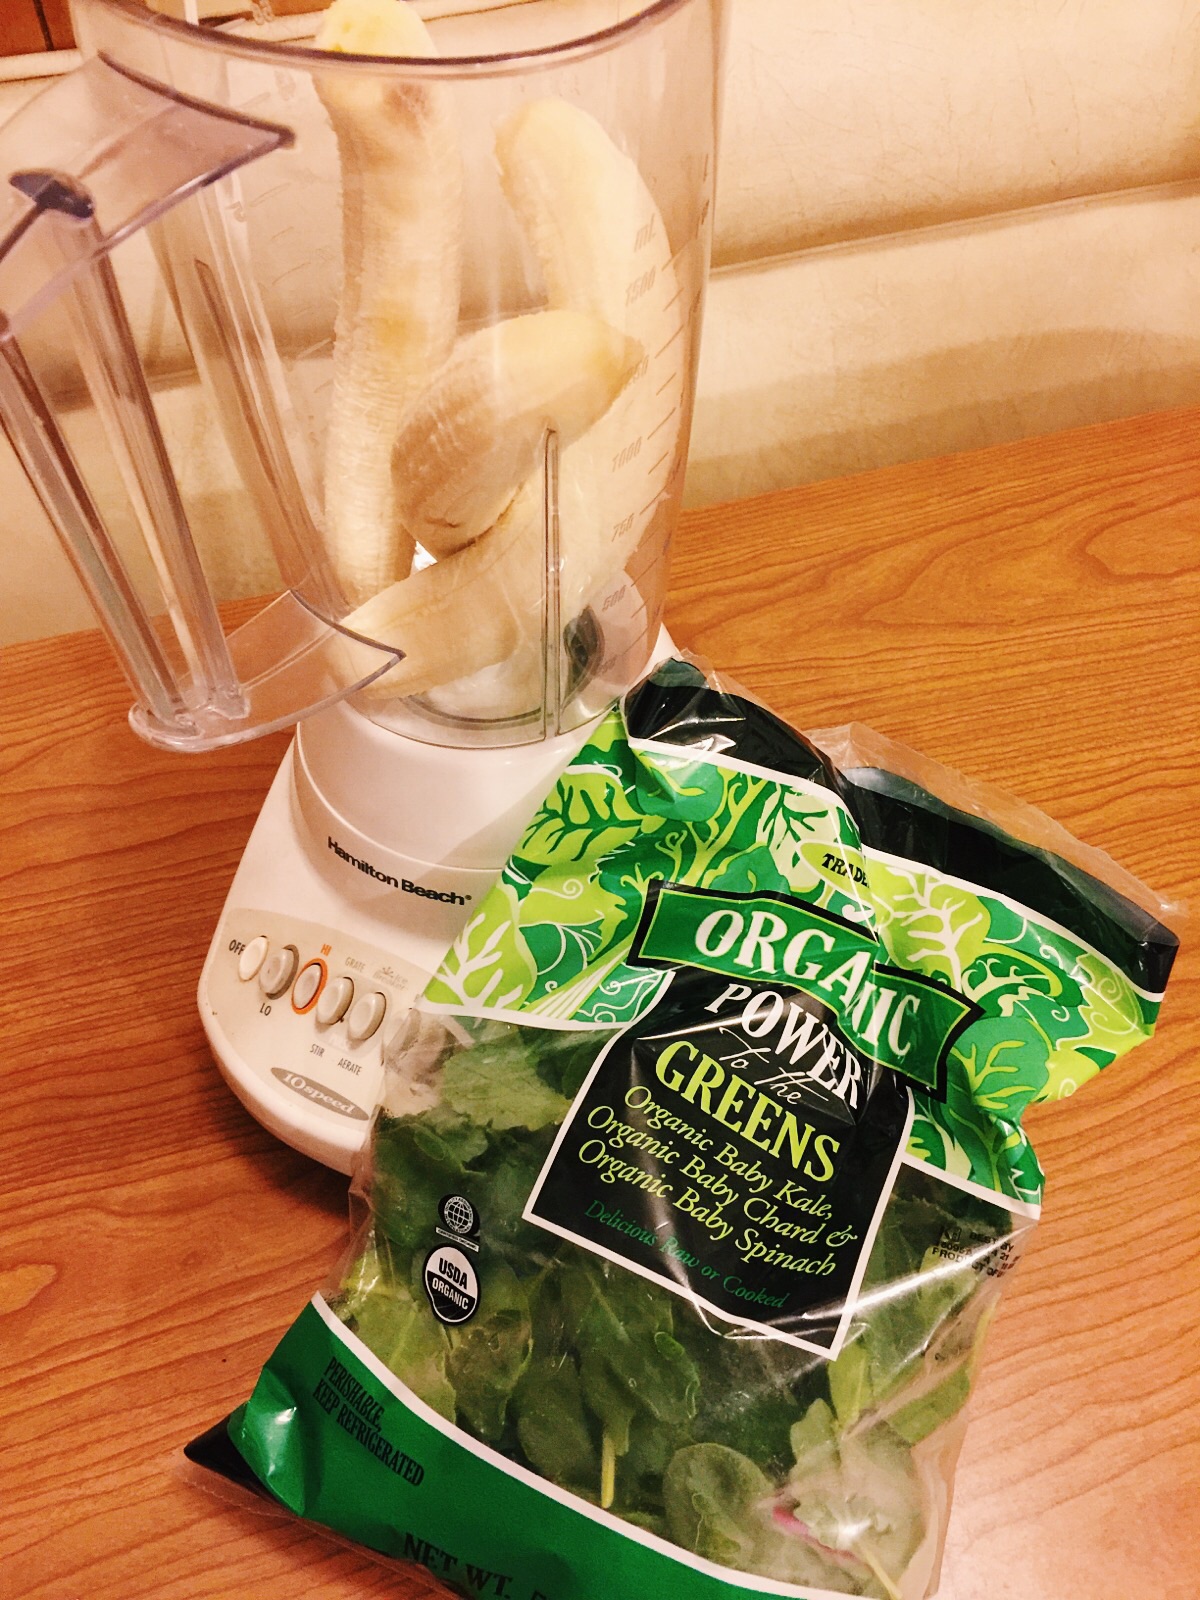
I am always down to make a sweet treat more nutritious. Making the batter for this is like the beginning of making a smoothie. I will confess that I did taste the batter after the egg was added.. It was yummy. I didn't have greek yogurt at hand, so I subbed with a similar texture ingredient- tofu with a little bit of lemon juice to bring back the acidity to react with the baking soda.


Sadly, the texture was still off. The batter was way too loose and liquid-y.  It baked for 60 minutes with toothpick still coming out with a few moist crumbs. The loaf collapsed as soon as the oven was off. It sunk in more as it cooled. Once sliced, the interior was dense and extremely moist.


Green Monster Banana Bread
recipe adapted from The First Year
makes 1 loaf
3 bananas
1 & 1/2 cups (45g) fresh spinach *50g organic baby kale, baby chard & baby spinach
6 tbsp (126g) honey *70g honey + 30g maple syrup
1/4 cup greek yogurt *subbed with 1/4 cup (63g) tofu + 1 tsp lemon juice
1 tbsp (16g) creamy peanut butter *18g used
1 egg
1 tsp vanilla extract
1 cup (120g) all purpose flour
1/2 tsp baking soda
1/2 tsp cinnamon
1/8 tsp salt *fine sea salt
*sunflower seeds, optional topping


Batter was lumpy so mixed some more in pan.
1. Preheat oven to 350ºF.
2. Line or lightly spray a loaf pan with non-stick cooking spray.
3. In blender, puree bananas, spinach, honey, greek yogurt, and peanut butter until smooth.
4. Pour blended mixture into a mixing bowl and stir in egg and vanilla extract.
5. Add flour, baking soda, cinnamon and salt. Mix well.
6. Transfer batter to loaf pan.
7. Bake for 48-58 minutes, or until a toothpick comes out clean.
Sunken :/
I like the idea of adding greens in my banana bread. I would try it with a trusty banana bread recipe next time!

Taste: 4 stars out of 5
Prominent banana flavor. Could be a little less sweet.
Texture: 2 stars out of 5
A chewy browned exterior layer with a souffle like texture inside when warm.


Monday, November 23, 2015

Tofu Chocolate Mousse Puffs

These tofu chocolate mousse puffs are best consumed when fresh.
Crispy shells with a rich tofu chocolate mousse. Nom!


Tofu Chocolate Mousse
recipe adapted from Wildwood
28 oz firm tofu
11oz dark chocolate
1/2 tbsp vanilla extract
5oz chocolate soy milk
1. Drain water from tofu and blend until smooth.
2. Add vanilla extract and soy milk, blend briefly.
3. Melt chocolate in double boiler.
4. Combine melted chocolate and tofu in blender.
*check consistency; add more soy milk if needed
5. Chill in fridge until use.

Blend tofu until smooth.
Melt chocolate over double boiler.
Keep an eye on this to avoid burning.
Combine melted chocolate with tofu.
This recipe is literally just combining all the ingredients together. Instead of melting chocolate in double boiler, simplify it by melting it in the microwave on intervals! A good mousse has to be smooth, light and fluffy, so I would also suggest sieving the tofu mixture before the addition of the melted chocolate.

I decided to serve them in a puff. Alternatively, serve them atop crushed graham crackers in a cup or in a pie crust. The crispy hard texture of the crackers/crust will complement well with the mousse. 

Cream Puff Shells
1 cup milk
1/3 cup butter
1 cup AP flour
1/8 tsp salt
1 tbsp sugar
4 or 5 eggs, room temperature 
1. Place milk and butter in pan and bring to a boil.
2. Add flour mixture in one swoop and stir quickly with a wooden spoon.
3. Remove from heat when paste becomes dry and does not cling to the spoon or sides of pan.
4. Cool for about 2 mins.
5. Add eggs one at a time and beat vigorously after each addition until smooth.
*check consistency; batter should be smooth and gently falls back on itself when piped.
6. Pipe or spoon golf ball sized rounds onto parchment lined baking sheet.
7. Bake at 400F for 10 minutes and lower to 350F for 20 more minutes or until puffs are golden and thoroughly cooked.
8. Remove from oven and pierce with a pairing knife to release steam.
9. Let cool and fill with mousse!

Bring milk and butter to a boil.
Add eggs one at a time and beat vigorously.
Texture should be smooth.
Looking back, I probably should've added 5 eggs. The batter was on the thick side making it hard to spoon. They still puffed up nicely though.

Pipe them 1-1.5" apart.
Remove from oven and cut a slit on the side/bottom to release the steam.
The puffs were lovely bite size indulgence. The tofu/soymilk replacing the usual heavy cream resulted in a denser less fluffy mousse. The tofu flavor was subtle and hardly detectable. The puffs served as the perfect vehicle to carry the mousse- crispy/flaky shell hollowed to fit just the right amount of mousse!

Taste: 3.5 stars out of 5
Texture: 4 stars out of 5


Wednesday, August 19, 2015

Mexican Chocolate Tofu Fudge Tart

Sick of my tofu theme yet? Here's another one - Mexican Chocolate Tofu Mousse Tart. Possibly the last one until I set my eyes on another tofu sweets, but hey.. these no bake tofu recipes are so simple and take no time to whip up. And bonusES, there's not much dishes to wash either, and they are sort of healthy for you with the high protein content! I've given you no excuse to not make one of these even on a lazy weeknight. Not unless you hate chocolate.. or tofu. But then, you won't be reading this if you do. So give it a try! Prep and whip, head to bed, and wake up to some tasty chocolate tart.


This particular chocolate tofu mousse is pretty indulgent and satisfies my big sweet tooth just right. The tofu provides the structure of the mousse and you won't be able to detect any soy flavor actually.

What makes this Mexican? I don't really know, but maybe the addition of cinnamon, nutmeg, and paprika. The flavor turned out distinctly spiced and well balanced. The spices were not overwhelming and simply elevated the flavor from being just an ordinary chocolate tart to something exotic for the taste buds.

Mexican Chocolate Tofu Mousse Tart
recipe inspired from Kiki Cuisine's Mexican Chocolate Pie and Chocolate Covered Katie's The Ultimate Chocolate Fudge Pie
makes one 6" tart (& a bit extra mousse)

120g graham crackers, crushed
60g melted butter
1tsp cinnamon
1/4tsp nutmeg

349g (12.3oz) silken tofu
1 1/2tsp cocoa powder
1tsp vanilla extract
2tbsp milk (*reduced fat)
1/8tsp salt
8oz chocolate chips (*semi sweet)
2-3tbsp sweetener (*reduced to 1tsp honey)

Optional spices:
1/4tsp instant espresso
1/2tsp cinnamon
Sprinkle of paprika

Next time, I will probably top this with some cinnamon cream:
1cup heavy cream
2tbsp sugar
1/4tsp vanilla extract
2 large pinches of cinnamon


tofu mixture, crust prepped, chocolate not yet melted
melt the chocolate
whisk together everything else
optional: use food processor and strain through sieve
fold melted chocolate into tofu
1. In a bowl, combine crushed graham crackers, cinnamon, and nutmeg. Add melted butter and mix thoroughly. Press down evenly on the bottom and sides of a 6" tart pan. Bake at 325F for 5-8 minutes or until fragrant. Set aside to cool while prepping the filling.
2. Melt chocolate chips over double boiler until smooth. Set aside.
3. Whisk together silken tofu, cocoa, vanilla, milk, salt, sweetener, and any optional spices. Alternatively, blend until smooth in food processor or blender.
4. Strain through sieve for silky texture. (*skipped this time)
5. Fold melted chocolate into tofu mix until combined.
6. Pour onto chilled crust.
7. Cover and chill for at least 1-2 hours or overnight.
8. Dust with powdered sugar or top with cream and enjoy!

pre- dust; the crust is a beauty
innovative way of using cooling racks?

I love the flavor of the mousse and crust with the addition of the spices. Texture-wise, I was expecting whipped cream like fluffiness. It turned out on the dense and fudge-y side which I also enjoyed very much. I should probably call this Mexican Chocolate Tofu Fudge Pie?


I used a tart pan with non- removable bottom and placed a small round sheet of parchment paper as insurance. With some wiggling, the tart slipped out with no problem. The crust was firm enough to handle without breaking. I am really starting to become addicted to this quick and delicious graham cracker crust.

A slice a day keeps the cravings away (:
Taste: 4.5 stars out of 5
The spices were well balanced and exciting
Texture: 4 stars out of 5 as a mousse
5 stars out of 5 as fudge

Should I make some cream puff to use up the leftover mousse/fudge? (;


Tuesday, June 14, 2011

Tofu Cheesecake


Uh oh. I made this tofu cheesecake way back in March.. and I forgot which recipe I used. I am 60% sure I used the following recipe. And I am not sure which website I got it from.. I might've translated it from an Asian blog though. However, I tweaked it so much that I don't think it resembles the original anymore. So Here's my "original" tofu cheesecake recipe!

Tofu Cheesecake

-makes one 8" round

For the graham cracker crust:
17 graham crackers
5tbsp butter

1. Finely crush the crackers
2. Melt butter and mix with the graham crumbs
3. Put in mold and press firmly
4. Bake in oven at around 300F for 5 mins or until toasty (You can also skip this step and just put it in the fridge)

For the tofu cheese part:
80g cream cheese
130g whipping cream
220-225g silken tofu, drained (*the silkier the better!)
50g sugar
6g gelatin
50g/ 3tbsp cold water


^failed. At this stage, I think the mixture should be flow-y and lava like..

1. Beat cream to 60% firm (a frozen yogurt/ ice cream- like texture)
2. Mesh and beat tofu
3. Put gelatin in cold water. Mix and put on double boiler until gelatin is dissolved
4. Beat cream cheese with sugar
5. Add tofu 1/3 at a time into cream cheese/ sugar mixture
6. Add gelatin 1/3 at a time into tofu/ cream cheese mixture
7. Mix/ fold with cream
8. Pour into mold
9. Fridge for at least 6 hours before un- molding

This recipe attempt didn't work too well for me. My "cheesecake" turned out lumpy and tasted like a giant glob of whipped cream.. with a hint of soybean-yness and chunks of jello-y stuff! Important note to self: I need to take extra caution when I work with gelatin next time. My gelatin solidified before I incorporated it into the tofu/ cream cheese.. And I mindlessly beat it in the the cream cheese mixture thinking it will magically incorporated. Big no-no! Next time, I should keep the gelatin on the double boiler so it doesn't solidify too early.

Aside from the strange texture of the tofu cheesecake, I am pleasantly pleased with the crust I made. At first, I did try to convert the exact measurement I got from the website.. But I got lazy and just eyeballed everything. It turned out great. I think I ended up using less butter( : Slightly healthier?


Taste: 3.5 stars out of 5 (I didn't mind the whippped cream taste/texture too much)
Texture: 2.5 stars out of 5 (other than the chunks of jello in the cake, I think the texture was ok.. just some fluffy whipped cream)

I am determined to get this tofu cheesecake right next time! Keep an eye out( :