Friday, June 12, 2020

Chocolate Cake Roll with Earl Grey Cream

Back with another cake roll per R and G's request.


They requested for chocolate and earl grey flavors and extra cream, so I added cocoa powder to the cake batter and infused the cream with earl grey tea. The resulting cake roll is dreamy. I love this classic earl grey chocolate flavor pairing, and the earl grey cream was absolutely divine on its own.

To make the earl grey cream, I infused about 200g cream (almost double the amount of what I used for the previous cake rolls) with 3 earl grey tea bags. I heated the cream up to a slow simmer and let the tea bags sit with the cream for about 45 minutes off heat.


Chocolate Cake Roll with Earl Grey Cream
recipe adapted from Neo Sook Bee on IG
makes one roll

Chocolate Cake:
30g oil
45g cake flour
14g cocoa powder
1g salt
50g water or milk
3 eggs
40g sugar
drops of lemon juice, optional to add to egg whites

1. Warm oil to 70C (158g).
2. Sift in flour, cocoa powder, and salt. Whisk to combined.
3. Add water and whisk.
4. Add yolks and whisk until combined and lump free.
5. In another bowl, beat egg whites. When bubbles are formed, slowly add in half of sugar. Keep beating until soft peaks form. Add rest of sugar and continue beating until medium peaks.
5. Fold egg white into egg yolk mixture 1/3 at a time until no more white streaks.
6. Pour batter in one spot onto lined pan. Smooth into even thickness and gently tap to rid of large bubbles.
7. Bake in preheated 325F oven for 20-23 minutes or until cake is spongy to touch.
8. Slide to rack to cool. Place a clean parchment paper over to prevent over drying.
9. Once is cool enough to touch, flip and peel off parchment paper.
10. Optional: trim off edges. On a short end, trim at a 45 degree angle. This will help with rolling/ sealing.
11. Spread a thin layer of cream. Roll and wrap to chill.
12. Chill for 1-2 hours before cutting.

Earl Grey Cream:
200g cream
3 earl grey tea bags

Over medium low heat, heat cream till simmer. Off heat. Add tea bags and steep for 30-45 minutes. Once cooled, chill in fridge before whipping.


Step by step photos:


Baked:


The skin peeled off evenly and revealed a nice "towel" roll. I would want extra cream too if it's this earl grey cream. 


Taste: 4 stars out of 5
5 stars for the earl grey cream, but the chocolate flavor can be more dark/intense
Texture: 5 stars out of 5
Pillow-y airy cake with a creamy rich filling.


Wednesday, June 10, 2020

Levain Style Cookies

Levain Bakery was one of the many bookmarks we got to check off on Fatty and I's 2015 NYC trip. To this date, I still reminisce how tasty the cookie was! The cookie was enormous and could (should) be shared! It had a crisp exterior, an incredibly gooey center, puddles of chocolate and toasty walnuts throughout. The flavor was buttery and rich, yet light and not overly sweet.

Throughout the years, I've bookmarked numerous copycat recipes. And I am finally trying it now!

Levain Bakery's Chocolate Walnut Cookie
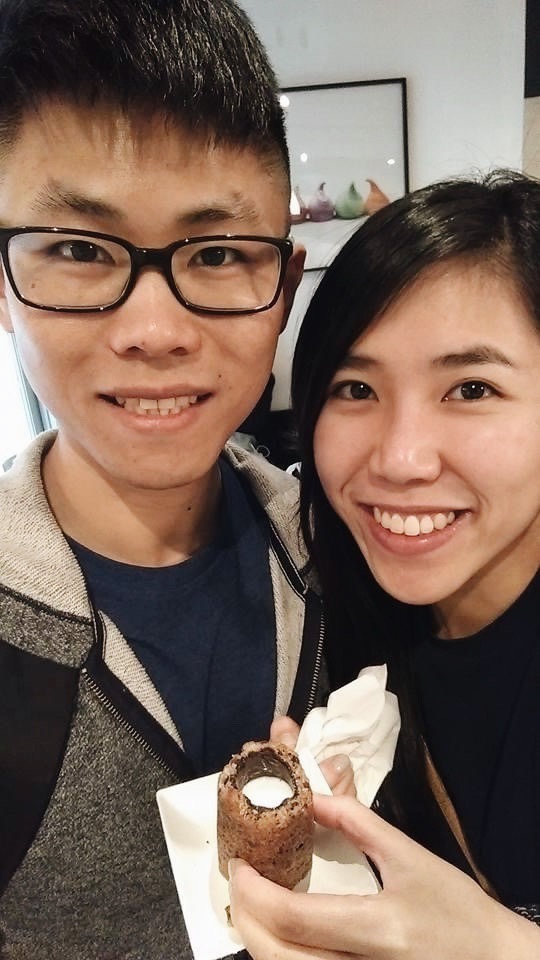
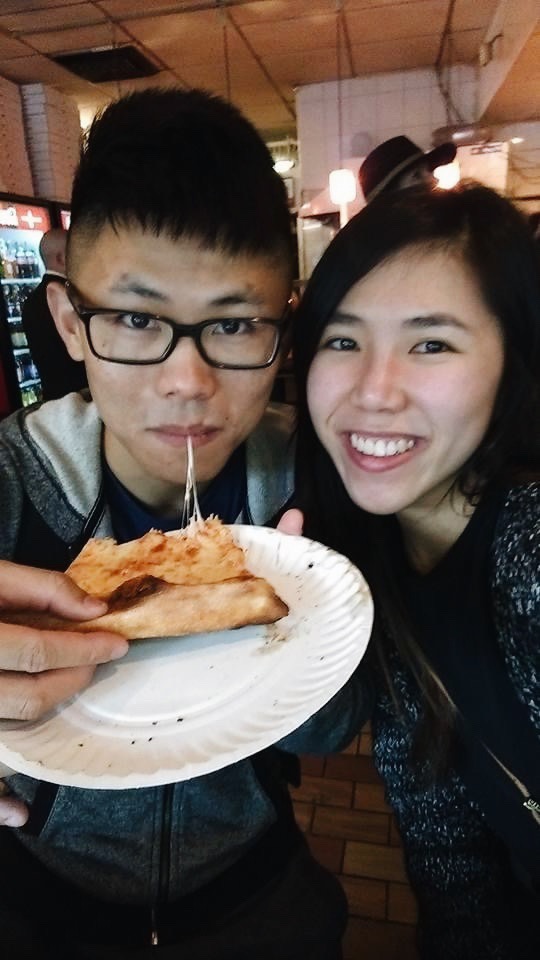
Before I get into my recreation of Levain style cookies at home, let's take a quick trip down memory lane with some other delicious eats from NYC - Cheese Pizza from Joe's Pizza, Cookie Shot from Dominique Ansel Bakery, and Chicken and Gyro Platter from The Halal Guys.


I can't wait to visit NYC again once it's safe.


Levain Style Cookies
recipe adapted from Korean Cooking 
makes about 14 cookies

200g butter, cold cut into 1 cm cubes
100g brown sugar
90g sugar
2 eggs, room temperature
1g (1/4 tsp) salt

Dry:
110g cake flour
200g AP flour
5g (1 tsp) corn starch
2g (1/2 tsp) baking soda
3g (1 tsp) baking powder 

Mix in's:
250g walnuts, boiled and toasted
250g chocolate (150g dark + 100g milk)


1. Preheat oven to 200C | 392F.
2. Combine dry ingredients and set aside.
3. Beat butter till fluffy. Add sugar and continue mixing until sugar is not visible. *not creaming*
4. Whisk eggs with salt and add to butter in third. *do not overmix*
5. Sift dry ingredients into butter egg mixture.
6. Mix with spatula until just combined with some flour showing.
7. Mix in chocolate and walnuts.
8. Pat lightly and shape into round mounds about 95-100g each.
9. Cover and refrigerate for 1 hour - overnight.
10. Bake for 12 - 15 mins.
11. Cool in pan for 10 minutes and transfer to rack to continue cooling.

Enjoy!

puddles of melty chocolate

Since there's no waiting for the butter to get to room temperature, the dough comes together pretty quickly. But if you got some extra time, do this step - 

I prepped my walnuts by boiling them for ~5 minutes before toasting them dry, and I will never do it any different! This step helps in removing any residue coating and bitter flavor from the walnuts. And it also makes the nutrients more available for the body to absorb. Make a bigger batch and store any leftovers in an airtight container in the fridge for a buttery walnut snack!


The cookies turned out so tasty! I made them almost half the size of the original Levain cookies, but they still got that wow factor. The cookies stood tall and got the signature crispy crust and gooey center. Highly recommend using big chocolate chunks to create all those beautiful puddles of melty goodness.


Taste: 4.5 stars out of 5
For the milk chocolate, I used an old bar of Hershey's milk chocolate which ruined the cookie a bit whenever I bite into it. Not a fan of Hershey's.
Texture: 5 stars out of 5
Crisp. Gooey. Yummy.


Tuesday, June 9, 2020

Hojicha Cake Roll with Hojicha Cream

Hojicha is roasted green tea with smoky notes similar to coffee. The taste is so complex and sophisticated. This cake roll has double the Hojicha and is perfect for any Hojicha lover!


Both the cake and cream have Hojicha powder added and are packed with the roasted tea flavor.

Hojicha Cake Roll with Hojicha Cream
recipe adapted from Sift and Simmer
makes one 9" x 13" cake

Cake:
3 egg whites
1/2 tsp cream of tartar
40 g granulated sugar
3 egg yolks
30 g granulated sugar
30 g oil
30 g milk
45 g cake flour
10 g hojicha powder

Hojicha Cream Filling:
1/2 C heavy whipping cream
1 Tbsp hojicha powder
1 Tbsp powdered sugar

Gently fold egg whites into yolk batter
Bake until top is dry and springy to touch

Make the Cake:
1. Line a 9" by 13" baking tray with parchment paper. Set aside.
2. Add egg yolks to a large bowl. Add insugar and whisk together.
3. Next, add in toil and milk and whisk until combined.
4. Add in  sifted cake flour and hojicha powder. Use a spatula to mix together. Set aside.
5. With a stand mixer, gradually whisk egg whites on low speed until foamy. Add in cream of tartar. Increase the speed gradually and add in sugar in small increments.
6. Beat until egg whites reach medium peaks.
7. Fold egg whites into yolk batter in third until homogeneous.
8. Pour into lined baking tray. Smooth out batter and tap tray to remove any trapped air bubbles.
9. Bake at 375F for 13-15 mins, until top is dry and springy to touch.
10. Remove from oven and carefully drop it from a height of about 1'.
11. Transfer cake over to a cooling rack, with the parchment-side down.
12. Loosely cover top with a new piece of parchment paper.

Make the Hojicha Cream:
Add whipping cream, hojicha powder and sugar to a large bowl. Whisk until the cream thickens.


To assemble:
1. While cake is still warm, carefully flip the cake onto the new parchment paper, with bottom side facing up. Peel the old parchment paper off the cake.
*Optional to trim edges. Trim one edge at an angle for a more rounded roll.
2. Using an offset spatula, spread the hojicha cream over the surface of the cake.
3. Carefully roll up cake from the short side and seal the ends of the parchment. Place into the fridge to chill for 1-2 hours.
4. Slice with a serrated knife and serve.


Taste: 5 stars out of 5
Hojicha rich!
Texture: 5 stars out of 5
Light and airy cake with creamy rich cream.