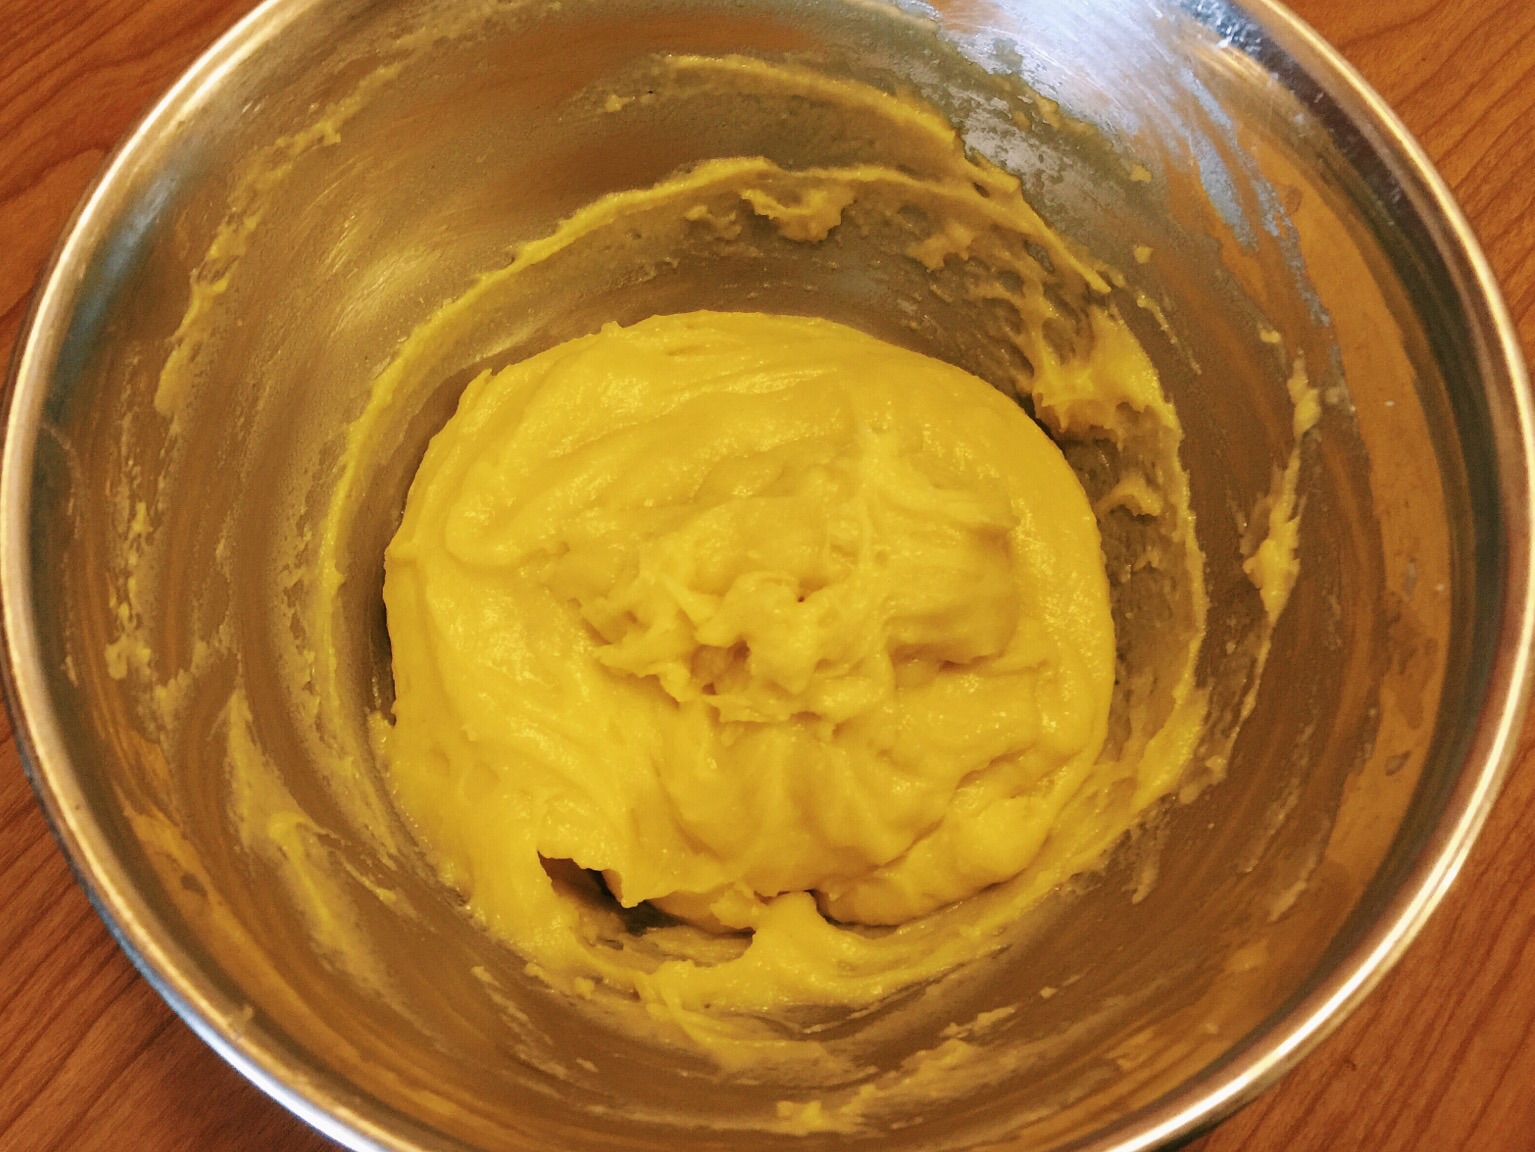
LooOOOOooooOOoooong time no see! This is
the last thing I baked.. in the SUMMER! It's been a good 4 months since then. Stay tune for the next 3 weeks though! Winter break= many baking to be done! Haha. Hopefully I won't get too lazy (or full from eating). Fall quarter really dragged, especially this week (finals week). It was the first time I slept past 2am (on a final day) and had to wake up at 6am for a final! Only FOUR HOURS of sleep before two back to back finals from 8am to 230pm.. But whatever! I am done now!
I shall start my baking extravaganza after 1 or 2 days recuperation from the lack of sleep. In the mean time (right now), I will be compiling a list of goodies to bake! Avocado cream cheese cookies are on the top of my list at the moment. And maybe the daunting macaroons? Grocery run tmr!! WOOHOO! I LOVE THE HOLIDAYS!
Without further ado, here are the mini mango tartelettes! Honestly, I don't quite remember how they turned out. I believe I under- baked them a little. Definitely need to roll them out thinner next time! The taste was good. Tart-y the way I like them? -_- This was the first time I baked tartelettes, so I really don't have much to compare with. I guess compare to the store brought ones, texture and taste- wise.. they are still not up to par. But freshness beats! Hehe. If only they were fully baked and thinner, I think they would be excellente!
 Mini Mango Tartelettes
Pastry Dough
recipe from
Chocolate Shavings200 grams of all-purpose flour
100 grams of
very cold butter
30 grams of sugar (for savory, omit sugar)
1/2 teaspoon of salt
1 egg, beaten with 2 teaspoons of water
1. Sift the flour, sugar and salt directly onto a work surface.
2. Cut the butter into small pieces.
3. Mix the butter into the flour by using a metal pastry scraper to cut in the butter and fully incorporate it into the flour mixture. (You can also use your fingers, but if you do you must do it quickly to ensure that the butter stays as cold as possible.)
4. Once the dough has the texture of fine sand, create a well in the center by using a cup or a glass. Add the egg and water to the center.
5. Gently beat the egg in the center and slowly incorporate the flour into the center making sure that the well does not break.
6. Once most of the flour has been incorporated you can start using your hands.
7. Knead the dough and form a round ball of dough.
8. Take a small handful of the dough, and, using the palm of your hand, smear it out completely onto the counter surface. (*This process makes sure that the butter is fully incorporated into the dough, and helps form a dough that will be easy to work with.)
9. Re-form the smeared piece of dough, and repeat with the rest of the dough until you have a pile of chunks of dough.
10. Form it into a ball again.
11. Wrap the dough in plastic wrap and leave to rest in the fridge for at least 45 minutes.
12. Preheat your oven to 375 F. Take the dough out of the fridge, unwrap and leave it out for a few minutes so it warms up a little.
13. Lightly flour your working surface and roll out the dough to about 1/8 inch thick round.
14. Use small cookie cutters to cut out circles of dough.
15. Place in buttered individual molds and gently prick the bottom of the dough with a fork a couple times.
16. Then, place a small circle of parchment (a little bigger than the size of the mold) in the center of the circle of dough and place some baking beans (or rice!) on top to weigh the paper down.
17. Bake for 10-12 minutes or until the edges of the tart turn a light shade of golden brown.
18. Let the tartelettes cool for a couple minutes, discard the beans (or rice) and parchment paper and leave to cool on a cooling rack.
Pastry Cream
(forgot where I got my recipe from)
2 cups milk
1/2 vanilla bean or 1 tsp vanilla extract
4 egg yolks
75g sugar
20g flour
20g cornstarch
1. Combine yolks with sugar.
2. Whisk until pale yellow (~3 minutes).
3. Stir cornstarch and flour and add to sugar yolk mixture.
4. Stir to remove lump.
5. Bring milk and extract to boil. Stir occasionally.
6. As milk starts to boil, add ladle of milk to flour/yolk mixture. Stir!
7. Add all flour/yolk mixture to milk and whisk until thickens (~1-3 minutes).
8. Remove from heat.
9. Cool.
NOMNOMNOM!