Monday, May 31, 2010

Portuguese Custard Tart


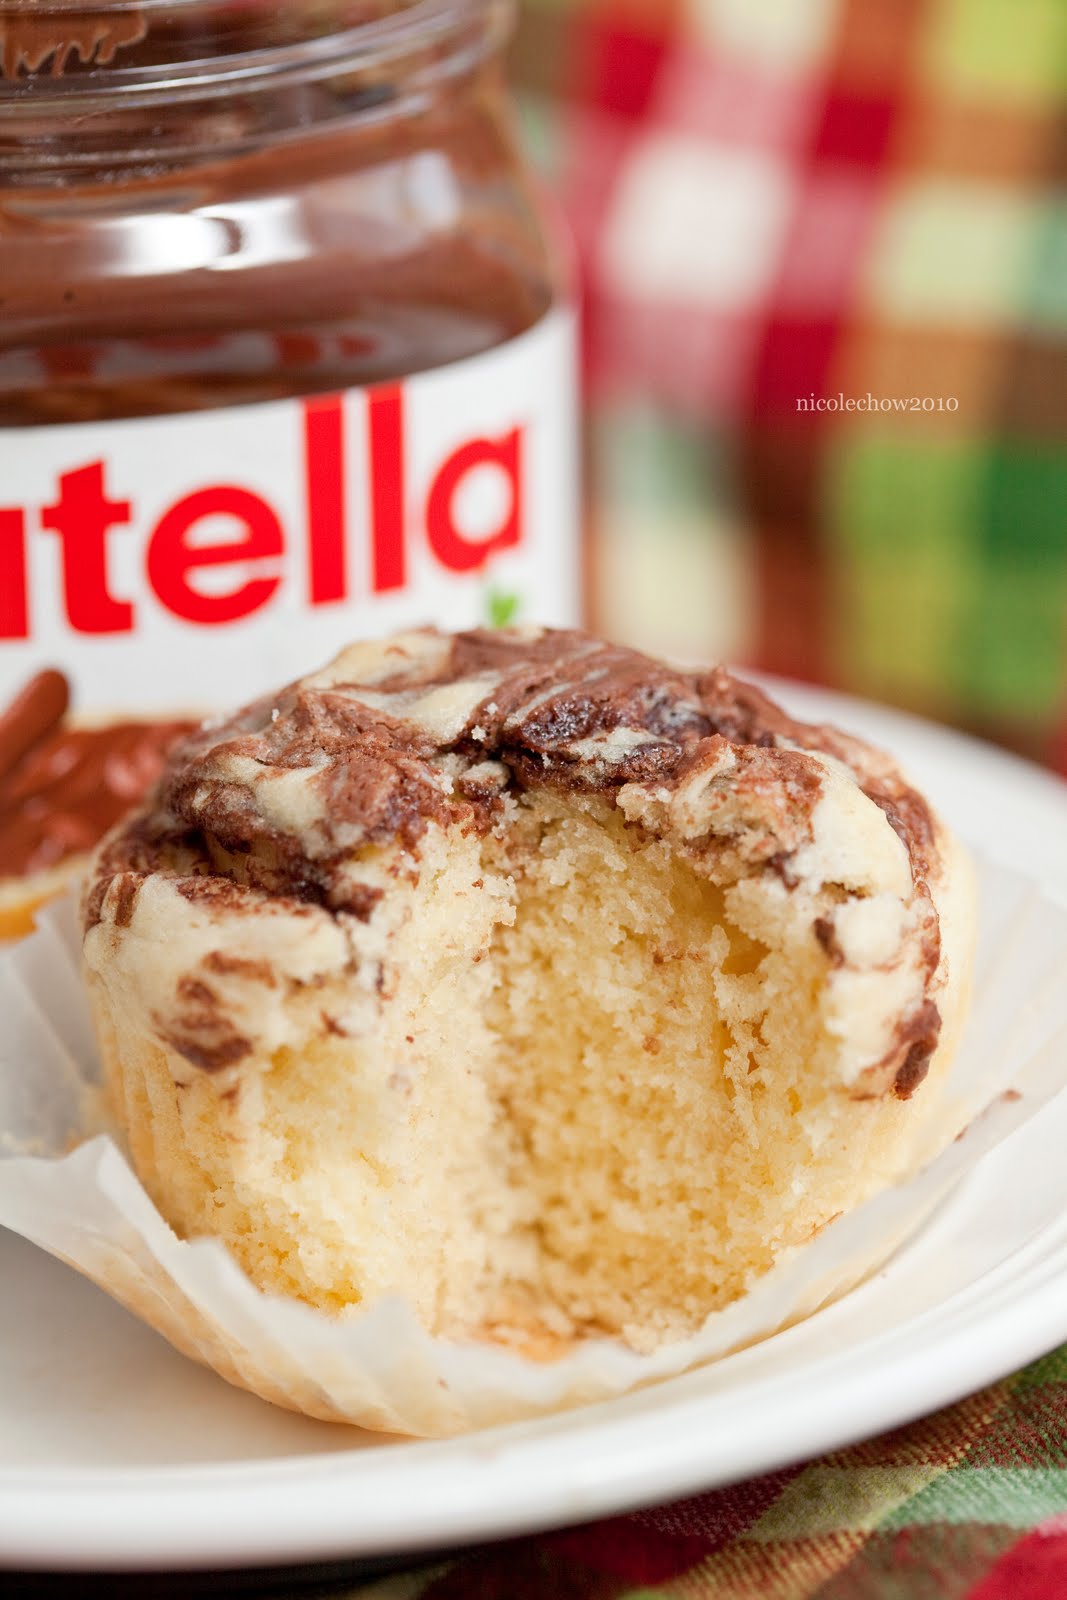
Egg tarts are always on the top of my priorities when I go Dim-Sum with my parents. The flaky crust and the warm gooey custard are just perfect compliments of each other! Of course, I had to try this Portuguese version of egg tarts when I spotted it on Foodgawker.

When looking back at the recipe while typing this post, I confirmed that I had messed up on the puff pastry cases. Aha! I sort of knew it when I still had lots of puff pastry left after making 12 cases. Instead of rolling the puff pastry into a log after layering, I just used a small cup and cut out circles and flatten them to fit the muffin pans.. I had no idea why I ignored the two most important steps in the recipe. But luckily, the tarts still came out fine. A bit thin if I should say. Mhm.. on the light side, I got to to kill two birds (tart and palmier) with one stone (1 sheet of puff pastry). So.. yay?


Portuguese Custard Tart
recipe adapted from Almost Bourdain
-makes 12 (or 16 in my case)

3 egg yolks
115 g (4 oz or 1/2 cup) caster (superfine) sugar
2 tbsp cornflour (cornstarch)
230 ml (7 3/4 fl oz ) cream
170 ml (5 1/2 fl oz or 2/3 cup) milk
2 tsp natural vanilla extract
1 sheet ready-rolled puff pastry

For the custard:
Whisk together egg yolks, sugar and cornflour in a saucepan.
Gradually whisk in the cream and milk until smooth.
Place the pan over medium heat and cook, stirring, until the mixture thickens and comes to the boil.
Remove from the heat and stir in the vanilla extract.
Transfer the custard to a bowl, cover the surface with plastic wrap to prevent a skim forming and leave to cool.

Preheat the oven to 375F.
Lightly grease a 12-hole muffin pan.

For the pastry cases:
(Check out Ooh, Look... for a detailed step by step photos for preparing the cases.)
Cut the pastry sheet in half, put one half on top of the other
Set aside for 5 minutes.
Roll up the pastry tightly from the short end and cut the pastry log into twelve 1 cm (1/2 inch) rounds.
Lay each pastry round on a lightly floured surface and use a rolling pin to roll out until each is 10 cm (4 inches) in diameter.
Press the pastry rounds into the muffin tin.

Spoon the cooled custard into the pastry cases.
Bake for 20-25 minutes, or until the pastry and custard are golden.
Leave the tarts in the tin for 5 minutes, then transfer to a wire rack to cool completely.
________________________________

4 stars out of 5. They custards were a tab bit too sweet and the tarts were too thin to give that full flaky quality (I think I might be bias toward the tarts because now I know I did messed up). My parents also noted that they might be greasy and not "light" and "airy." I believe the preparation of the pastry cases are crucial to the overall outcome (since 50% of the tart is comprised of pastry!). I got to have a re-do on this. Soon.

Saturday, May 29, 2010

palmier.


Puff pastry never fails to impress. I had my first encounter with puff pastry when making them Portuguese custard tarts yesterday (Pictures and recipe coming soon). No doubt that they would make a good tart, but now lets talk about what I did with the scraps!

With the leftover puff pastry from making the custard tarts, I created some Shiitake mushroom looking Palmier. It was intended to look like regular Palmier with the pretty butterfly shape, but somehow the pastry didn't stick together and opened up during the baking process..


Cinnamon- Sugar Palmier

1 sheet or scraps of puff pastry, thawed
plenty of granulated white sugar to sprinkle
plenty of cinnamon to sprinkle

Thaw puff pastry in room temperature for 30 minutes or until softened.
Preheat oven to 400F.
Grease or line baking pan with parchment paper.
(If using scraps, roll them back into a sheet.)
Sprinkle cinnamon and sugar on one side of the puff pastry.
With a rolling pin, lightly roll and press cinnamon/sugar to the puff pastry.
Flip to the other side, sprinkle and roll.
Roll each side of the puff pastry inward until the two sides meet.
Gently press the two sides together.
With a sharp knife and gentle sawing motion, cut the log into 1/2 inch thick pieces and place on baking pan about 1 inch apart.
Bake for 10 minutes or until golden brown.
With a tong or chopsticks, flip Palmier 5 minutes into baking to evenly brown each side.
Cool and serve.


And so I ended up with some interesting looking palmier. Nonetheless, puff pastry tastes great in any shapes and forms. This is certainly going on my To-Bake list. I can't wait to try making some savory Palmier. Sun-dried tomato with pesto or cheese and ham? I give these 4.5 stars out of 5. It's not 5 out of 5 because I know my Homemade puff pastry will be better(:

Friday, May 28, 2010

Hot Milk Sponge Cake


Since my dad's birthday is coming up in 2 days, I was in a pretty urgent quest to find the perfect sponge cake base recipe for his birthday cake. At first, I wanted to find a recipe that has cream of tartar as one of its ingredient because I just bought cream of tartar the other day I recalled reading on some baking science website that cream of tartar is often used to stabilize sponge cakes.

I did found a recipe with cream of tartar, however, I changed my mind. I went for another recipe that calls for 2 eggs instead (I was in a short supply of eggs and didn't want to use it all for my "experiment" cake).

Anyhow, I enjoyed making this cake a lot. It still fascinates me each time how an egg with beating and whisking can turn into a foamy consistency. The steps to making this cake is quite simple. Just make sure to measure out all the ingredients and prepare pan before starting.


Hot Milk Sponge Cake
recipe adapted from Oui, Chef
-makes 1-9" round cake
1 cup all-purpose flour
1 teaspoon baking powder
1/2 teaspoon table salt
2 large eggs
1 cup granulated white sugar ( I used a little less than 1 cup)
1/2 cup whole milk
1 tablespoon unsalted butter
1 teaspoon pure vanilla extract

Preheat oven to 350F.
Butter and flour pan. (I lined it with parchment paper)
In a medium bowl, whisk together the flour, baking powder and salt, set aside.
In another bowl, beat the eggs with electric mixer until light (about 4 minutes). With the mixer running on medium speed, slowly add the sugar and beat until the mixture is light yellow and comes off the whisk in a ribbon when the whisk is lifted (about 7-8 minutes).
Bring the milk and butter just to a boil in a small saucepan set over medium heat. Remove from heat and stir the vanilla into the hot milk.
With the mixer running on medium speed, slowly add the hot milk mix to the egg mixture.
Mix until combined, then reduce the mixer speed and add the flour mixture slowly, just until thoroughly combined, stopping to scrape down the bowl once or twice. Pour the batter immediately into the prepared pan.
Bake for 20-25 minutes, until the edges are browned (you may also test with a toothpick).
Let cool slightly in the pan, then turn out onto a wire rack to cool completely.


Taste-wise, I am not really satisfied. I would give this a 2.5 stars out of 5. Although the cake smelled really good (& egg-y), the cake lacked the egg taste that I prefer and .. I just feel like something is missing (maybe the cream of tartar? Haha). Maybe this is how hot milk sponge cake is like? I am going for the 5 eggs recipe tomorrow!

Monday, May 24, 2010

Alfredo Farfalle


Smoked ham and corn go so well with this Alfredo sauce. It was kind of a spur of the moment that I decided to replace the frozen mixed vegetables that I normally use with corn. The sweetness of the corn brilliantly diluted the creamy and somewhat greasy texture of the (store-bought) sauce and made the sauce taste ten times better (if not more). There is nothing fancy in making this dish-- cook pasta, drain, mix, season (with lots and lots of black pepper) &serve. Perfect dorm food.

__________________________
Look out for the influx of posts in the coming week because I am baking till I drop this weekend! Woohoo.. I shall be experimenting with sponge cake, swiss roll, egg tart, puff pastry .. and more if time permits(:

Tuesday, May 18, 2010

Tira miss you.


Drumroll please!
Let's welcome the classic Italian dessert..

TIRAMISU!


Ehhh.. alright! I did not make this. I wish I did though.

Every time I come across a recipe for Tiramisu, there are either too much steps or I don't even have a clue where to start. The ingredients are foreign to me. Marsala wine? Mascarpone? Ok.. maybe not that foreign but definitely they are not something you would have at hand. Agree?

Well meanwhile, I figure I can just spend my meal points (prepaid credit for food) on this decent cafeteria dessert. It's surprisingly not that bad. I have been getting these once in a while for almost 2 years already (haha). These Tiramisu are definitely not the "real" stuff. No ladyfingers nor wine nor whatever they should have. It's like a simplified version with just a few layers of sponge cake, cream and chocolate. Still good enough for me to go back for seconds twenties(?) :P

Monday, May 17, 2010

FAVORITE!

Everyone NEED to get their hands on this recipe. It was fairly easy and came out soooo-o delicious. They tasted best when fresh out from the oven! (Simply warm them in the oven if you are eating them the next day.. they tasted just as great) My friend downed 3 when they were warm and crunchy. Homemade biscuits totally kick McDonald's and Pillsbury's butt :P


check out Nicole's tumblr for more photos

Buttermilk Biscuit
recipe adapted from Alton Brown
-makes 9 big biscuits
2 cups flour
4 teaspoons baking powder
1/4 teaspoon baking soda
3/4 teaspoon salt
2 tablespoons butter
2 tablespoons shortening (I substituted with 2 tablespoons butter& used 1/4 tsp of salt instead of 3/4 tsp)
1 cup buttermilk, chilled

Preheat oven to 450 degrees.
In large mixing bowl, combine flour, baking powder, baking soda and salt.
Using your fingertips, rub butter (and shortening) into dry ingredients until mixture looks like crumbs. (The faster the better, you don't want the fats to melt.)
Make a well in the center of the mixture and pour in the chilled buttermilk.
Stir just until the dough comes together. (The dough will be very sticky.)

Turn dough onto floured surface, dust top with flour and gently fold dough over on itself 5 or 6 times.
Press into a 1-inch thick round.
Cut out biscuits with a 2-inch cutter, being sure to push straight down through the dough.
(If you don't have a cutter, simply use a regular soup can like me. Just cut out the top and bottom lids and there you have it! Warning: Drinking glass might seal the biscuits and make them less flaky.)
Reform scrap dough, working it as little as possible and continue cutting.
Place biscuits on baking sheet.
Bake for 15 to 20 minutes until biscuits are tall and light gold on top.
Be sure to wait till pan is cool before taking them out or you will burn your fingers like me ):

__________________________________
I love pairing these up with strawberry jam. The sweetness of the jam perfectly balances the saltiness of the biscuits. This recipe is definitely on the top of my list if I ever need to use up my buttermilk. They should be on yours too! Enjoy!

Sunday, May 16, 2010

citrus-y


What a productive Saturday! I finally got poppy seed and got to attempt to reproduce the muffins my friend made. I was surprised how much I liked them when I took my first bite at her muffin (given that I am not a big fan of sour-y things).

As much as I wanted to like the muffins I baked, I have to admit that they have not met my standard (yet). I guess mine had a healthier spin than my friend's. They were lemon-y and definitely less sweet. As you can see, I tried adding a glaze to intensify the sweetness.


Lemon Poppy Seed Muffins
recipe from and then I do the dishes
-makes 12
2 cups flour
1 1/2 teaspoons baking powder
1/2 teaspoon baking soda
1/4 teaspoon salt
1 1/2 tablespoons poppy seeds
1 egg
1/2 cup + 2 tablespoons sugar
2 large lemons, zested (I used 1.5 lemon)
1/4 cup melted butter
1 1/4 cups buttermilk (or try the substitute if you don't have buttermilk)
1 tsp vanilla


Preheat oven to 350F.
In a large mixing bowl, whisk together the dry ingredients.
In a smaller bowl combine the sugar and lemon zest.
Rub them together until the sugar is slightly moist and fragrant.
Add the egg, the butter, the buttermilk and the vanilla. Mix well.

Add the wet mixture to the dry ingredients, and stir just until moistened.
(Do not over mix. The batter will be fairly thick.)
Divide batter evenly into 12 paper-lined or greased muffin cups.
Bake for 20-25 minutes.
Cool.
Eat.

This was the first time I encountered lemon zest in my recipe. I googled to check if I could maybe substitute it with lemon juice.. but according to sources online, lemon juice is more acidic and lacks the citrus flavor that lemon zest brings. Don't skip out on the lemon zest. They add a little texture to the muffins but maybe reduce on the amount if you are like me who is not a big fan of lemon(:

*To see more beautiful shots of these muffins, go to Nicole's tumblr

Saturday, May 15, 2010

100% Rich and Buttery

I never really liked frosting on my cupcakes. The reason being that I always relate them with food coloring or I just think they are more for aesthetic principle. When I came across these self-frosting cupcakes, I was intrigued. No need for frosting and what.. NUTELLA?! Bookmarked! (hehe) The Nutella added a nice crunch to the cupcake and not to say, the absolutely amazing chocolatey hazelnutty taste! These cupcakes are swirly and beautiful without the frosting. Props to my bff for these awesome photos. You made my day♥


Self Frosting Nutella Cupcakes
recipe from Baking Bites
-makes 12
10 tbsp(140 grams) butter, softened (I used 8tbsp)
3/4 cup white sugar (I used 1/2 cup)
3 eggs
1/2 tsp vanilla
1 3/4 cups (200 grams) all purpose flour, sifted
1/4 tsp salt
2 tsp baking powder
Nutella, approx. 1/3 cup (~1 teaspoon for each cupcake)

Preheat oven to 325F.
Line 12 muffin tins with paper liners.
With mixer, cream together butter and sugar until light (~2 minutes).
Add in eggs one at a time.
Beat the mixture after each egg until fully incorporated.
Add vanilla.
Stir in flour, salt and baking powder until batter is uniform.
Fill each muffin liner 3/4 full with batter.
Top each cake with 1 tsp Nutella.
Swirl Nutella in with a toothpick (make sure to fold a bit of batter over the nutella).
Bake for 20 minutes.
Remove to a wire rack to cool completely.


If you'd like more Nutella on your cupcake, I suggest adding in little at a time. It was a bit difficult to swirl the batter over the Nutella.

Oh-la-la.. Enjoy these absolutely Nutella-y, rich and buttery cupcakes.

First time making sago.


Refreshing Papaya Sago. Made them last night with my mom's help. There is absolutely no reason to pay so much for these simple desserts.. Make it yourself! Here goes the recipe. Note: The recipe is not perfected yet! (I would like to maybe put less water and more sago next time.)


Papaya Sago
-These are all approximate numbers. Feel feel to adjust to your liking.
1/3 cup of sago (I used 1/4 cup)
water to boil
1/4 papaya, chopped
1/4 papaya, blended
2 blocks yellow rock sugar
1/2 can of coconut cream
500 ml of water (I used 800ml and it was too watery)

Bring a pot of water to a boil.
Dump sago into boiling water. Stir.
Boil for a minute or two then turn off heat and cover.
Once the sago are clear (~15 mins), drain and rinse under cold water.

Bring 500ml water to a boil and put yellow rock sugar in.
After sugar dissolves, put in the chopped papaya.
(Boil for a bit of you like your papaya soften)
Turn heat off.
Pour in coconut cream, papaya purée, and sago into pot.
Stir and enjoy!


*Photo courtesy of my bff, Nicole.

Friday, May 14, 2010

CONT'd from Tijuana


Churros! These are yet the best churros I've tried.

These churros were from a vendor near the Mexico border (the Mexico side). Freshly made on a little cart filled with oil. I know I was taking a risk when I bought these but I gotta see taste for myself what the hype is all about. Almost everyone who had been to Mexico told me about them and since they were only $1 for a bag with 5-6 churros.. I could not resist! I wish I had my camera with me to show you that little man- powered "churros- forming" machine.

Highly recommended.

Saturday, May 8, 2010

cooking for forty

This weekend was my trip with FIMRC to Los Angelitos Orphanage in Tijuana, Mexico. (Whee!) Just the weekend before, we had a pre-meeting about the tasks we are doing. And guess what? My obsession with food got me into the food group! So the day before the trip, I met up with the other girls/guys to prepare for the lunch and dessert for the kids and us (around 40 people?). They had already decided on making pasta and chocolate covered bananas, and the girl who was in charge went to costco and bought all the ingredients.

We started off the night by chopping 6 big onions for the pasta. Thanks to my contacts, I was the only one who wasn't tearing. After spending a good 2 minutes on my first onion, I thought of the little trick that the "cooking with the dog" lady uses to cut her onions in all her videos. Unfortunately, it didn't quite work out for me simply because I forgot how she did it exactly. I sliced the onion in half.. then sideway? and straight?

Anyways, then all the chopped onions went into a pot, seasoned and cooked till translucent. A huge pack of ground beef went into another pot. After everything was cooked thoroughly, we just simply mixed the beef, onion and marinara sauce. Then we boiled pasta, poured onto the three trays we had prepared. Mixed the sauce with the pasta and finished off with layers of mozzarella cheese.


We baked them again on the site to melt the cheese. They came out delicious.. honestly wayyy more than what I had expected. (:

After spending a good hour on the main dish, we moved on to making the dessert, chocolate dipped bananas. It was a disaster! Not only was it a mess .. they also didn't store them properly for the next day (Wrapping in foil= don't). It was my first time making chocolate dip so I just went with the flow.


The girl who made chocolate dip before took the lead and poured a bag of semi-sweet chocolate chip along with some half&half in the pot.. Stirred on low heat till everything melted. Up to this point, the chocolate dip was okay.. but UH-OH! she added in the store-brought chocolate dip pouches. They were pretty gross in my opinion. There was a thick layer of oil in each pouches (she added three. oilx3!).


The consistency of the dip got thinner and thinner toward the last few bananas. In my mind, they weren't even chocolate covered.. more like OIL-covered.


Oh! And moreover, the lack of preparation (wax paper) led to PAM covered foil. I mean.. it makes sense to add oil to foil so things do not stick. But chocolate covered banana on pam! Seriously? Oil times infinity.

I think we should've just bought the chocolate rice krispy treats that the girl made for herself. Even though I didn't see how she made them, I am sure is much more pleasing than the oil infused bananas.


The night was so long and uh.. interesting. It reminded me so much of the food show I recently started watching- Jamie Oliver Food Revolution! I think I won't mind catering for people as my career. It's both tiring and rewarding.

At the end of the day, I confirmed that I hate working with others in the kitchen. If I was the lead or doing this by myself, I would do things so much different, such as washing the onions prior to cutting. My OCD is definitely kicking in. It is just frustrating when people don't do things the way I want. Alright alright alright.

On a lighter note, my friend asked me to make a birthday cake for his sister next week. We'll see how that goes(:

Friday, May 7, 2010

Whole Grain Goodness


Yogi's Granola Crisps All Natural Mountain Blueberry Flax

I first tried these over at my friend's place and I instantly fell in love with them. They are kind of like a hybrid of cereal and chips. I think I finally found something snackable yet healthy at the same time.


However, I suppose these are not so braces friendly. On a scale of 10, their crunchiness would probably get a 9. So for those braces- wearers out there, eat at your own risk! (haha) Other than that, I'd like to mention that they combined oats, barley, spelt, quinoa, and amaranth (simply lots of good stuff for your body) in each bite-sized crisps. No guilt if you find yourself with an empty bag by the end of the day :D

Tuesday, May 4, 2010

Snack-a-ton


Moving on from Mrs. Field's Cookie Dough.. this time, we have QUADRATINI. Another bite size snack! (Bite size snacks are wonderful for studying& braces-wearer :D) These bite size cookies taste heavenly. If you like nutella, you'd love these. They claimed that 74% of the cookies is filling, and I definitely approve. So rich. Almost too rich!!(haha) I went out to get the vanilla before I even finish with the hazelnut. Ah, they also come in tiramisu filling (i think).

As of now, my snack cabinet is just overflowing with varieties of crackers, chips and chocolate related goodies.. Is there a disease that has to do with endless snacking? Snack-a-holic? I should.. maybe.. start exercising to sort of cancel out my enormous amount of intakes(?) Does that even make sense?


Coming up ---Yogi Granola Crisps

Monday, May 3, 2010

whats for dinner?


As you see, no baking still.. No baking doesn't mean no blogging though. I thought I would just share with you guys what I had for dinner today ---fried rice! Tonight's fried rice was a little out of the ordinary for me because I mixed in some ketchup. I was trying to go for something similar to omurice.. but I got lazy and HUNGRY so I gave up. All there is to my fried rice is onion, smoked ham, mixed frozen vegetables and eggs. Quick and simple.. that's the college way! (;

ps. I would've taken a better picture if I wasn't too hungry.
pps. I still have a BIG bowl left. ♥